How to Add Rotating Testimonials in WordPress
Do you know How to add rotating testimonials in WordPress?
Displaying testimonials and reviews on your WordPress website is a beautiful way of advertising your company or website with social proof and boosting reliability.
Because of that, many online businesses show customer testimonials on their websites.
This tutorial will teach you to add rotating testimonials to the WordPress website.
What are testimonials?
In the world of business and advertisement, User testimonials are a popular strategy to advertise businesses online. These are from Valuable customers or users who use and enjoy your service or product, and in turn, help you to increase your sales.
Why Add Rotating Testimonials to WordPress?
Rotating testimonials are important because they allow you to display a handful of testimonials in a small space. Moreover, this style looks more beautiful and grabs visitors’ attention.
Displaying rotating testimonials in WordPress help build trust among your users and help you to gain more customers.
After reading testimonials, people relate to each other and help brands connect with the public, and increase sales.
These are cost-effective methods of marketing. The users who loved your service/ product give testimonials for free. The company can utilize them to cut down its advertising costs.
How to add rotating testimonials to your WordPress?
We will explain three different WordPress plugins to add rotating testimonials to your WordPress website. Namely-
- WP Testimonials Rotator
- SeedProd
- Smash Balloon
Method 1. Adding Rotating Testimonials to WordPress Using WP Testimonials Rotator
1. Install and Activate the plugin.
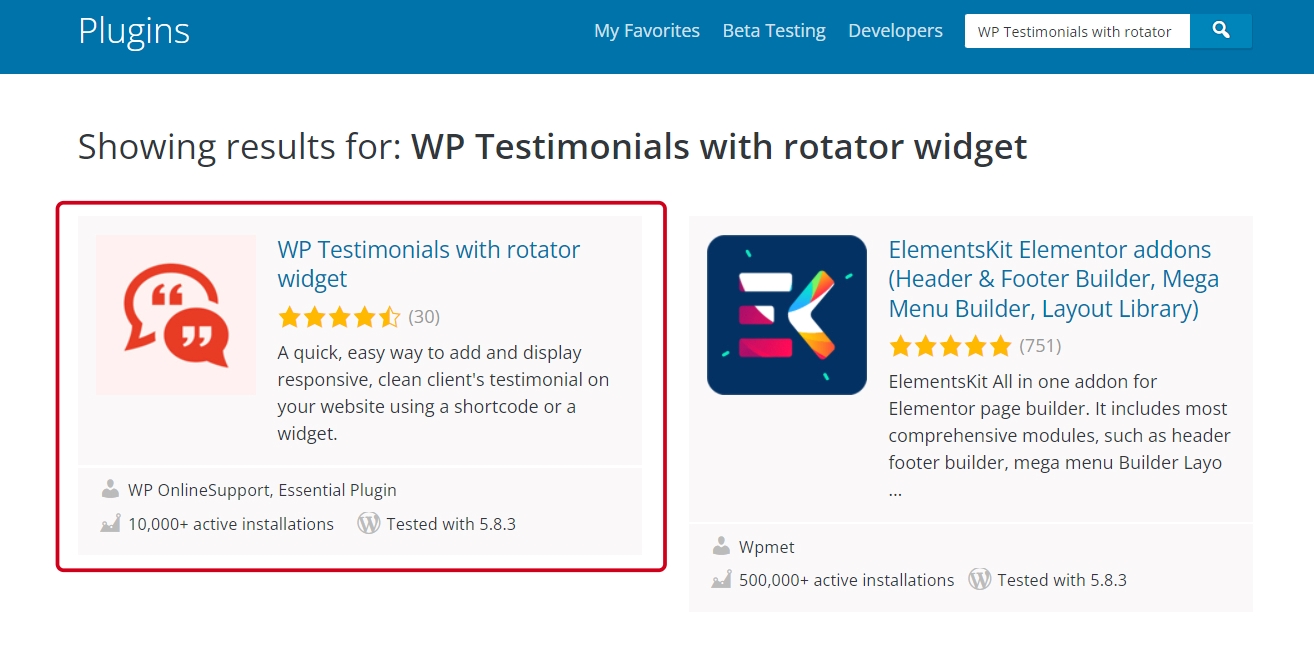
The WP Testimonials Rotator is a free plugin that is very customizable and lets you add rotating testimonials to your website.
After creating testimonials, you can show them using a shortcode. This shortcode lets you customize the testimonial’s appearance.
To use the plugin, firstly Install and activate it.
Go to plugins >> Add New >> Search WP Testimonials Rotator >> Install >> Activate. You can also check our post on how to install and activate WordPress plugin.
Once you activate the plugin, go ahead to up the plugin.
2. Set up the plugin.
After activation, go to WP Testimonials » Add New.
Now, in the page editor screen, you have to enter the testimonial details.
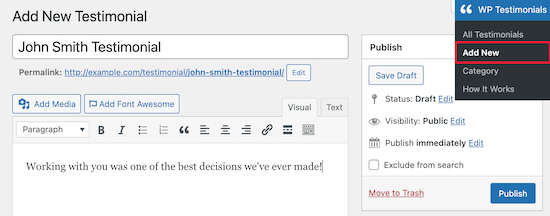
After adding the testimonial quote, scroll down the post editor to add more details to the ‘Testimonials Details’ box.
Fill up your client name, job title, company name, and URL.
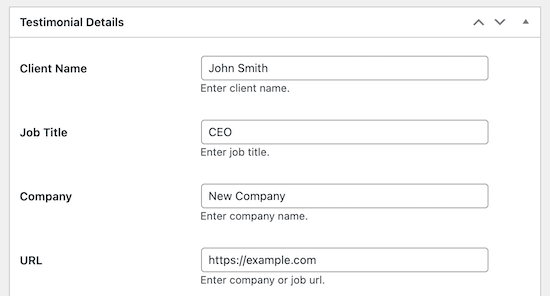
Then, click the ‘Publish’ to save the changes.
To rotate the testimonials, you have to add more than one.
Return to WP Testimonials » Add New and follow the same steps as above. Repeat the same steps to add more testimonials you want to include.
After adding all your testimonials, you have to add them to the post on your site.
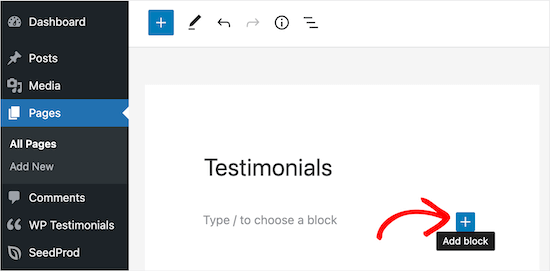
To do this, open the page where you want to add the rotating testimonials and click the add block ‘Plus’ icon to bring the block editor.
Then, search the ‘Shortcode’ in the search box and click the ‘Shortcode’ block.
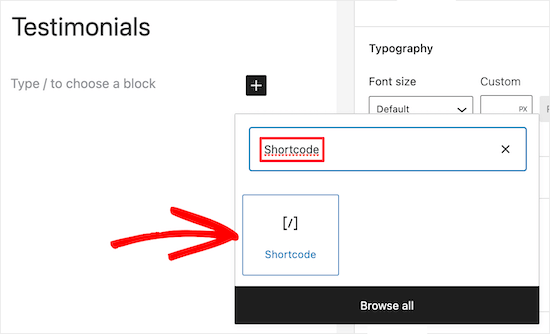
Next, you have to add the given shortcode to the box.
[sp_testimonials_slider]
After that, click on the ‘Update’ or ‘Publish’ button to save the changes.

Now you have successfully added the rotating testimonials to your site. Your visitors will notice a live rotating testimonial which will automatically rotate after displaying each one for a few seconds.

Method 2. Adding Custom Rotating Testimonials to WordPress Using SeedProd

SeedProd is the WordPress page builder plugin in the market. That lets you create a custom page for your website using a drag and drop interface option.
It comes with an in-built Testimonials block with flexible design options.
You can add the testimonial author’s name, title and upload an image.
1. Install and Activate the plugin.
The plugin comes with free and paid versions. We are using the paid version here because we have to work on the testimonial block.
To use the plugin, firstly Install and activate it.
Go to plugins >> Add New >> Search SeedProd >> Install >> Activate.
Once you activate the plugin, go ahead to up the plugin.
2. Set up the plugin.
After activation, go to the SeedProd » Settings and fill up your license key.
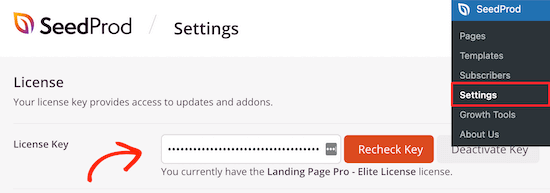
Your license key is present within your account on the SeedProd website.
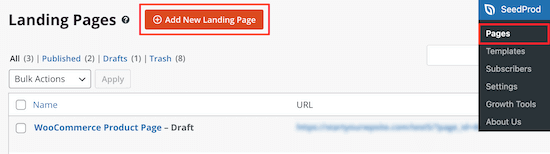
Then, head over the SeedProd » Pages and click the ‘Add New Landing Page’ option.
Next, You have to select a template.
SeedProd provides many professionally designed templates. You can select any of those.
To choose a template, select it and tick the ‘Checkmark’ icon.
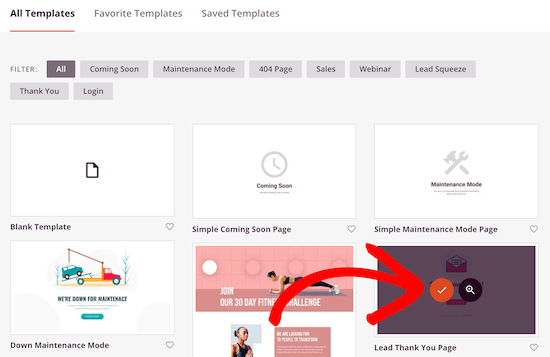
We are using the ‘Lead Thank You Page’ template for now, but you can choose any templates you like to display.
Afterward, you have to enter your page name and click on the ‘Save and Start Editing the Page’ option.
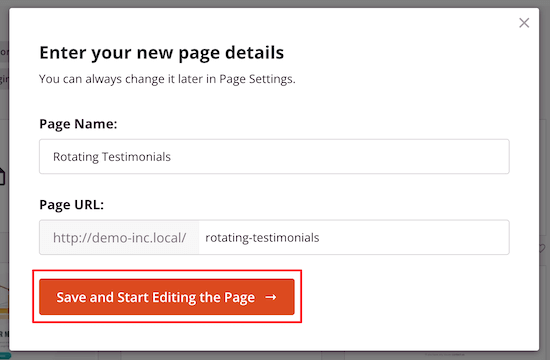
This will enable the drag and drop builder interface option.
You can notice a live preview of the template you selected. There you select and edit any item on the screen.
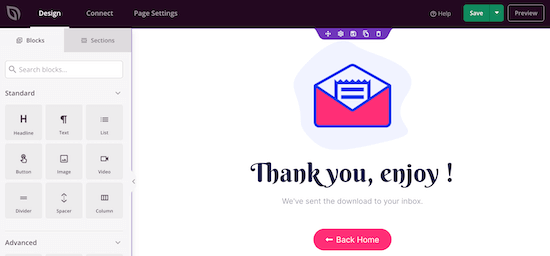
You can add the blocks from the left column to your page.
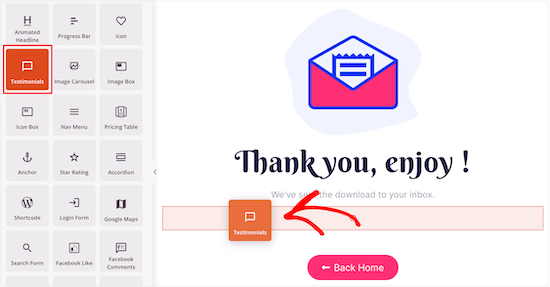
Now, we are adding a customer testimonial block to our page.
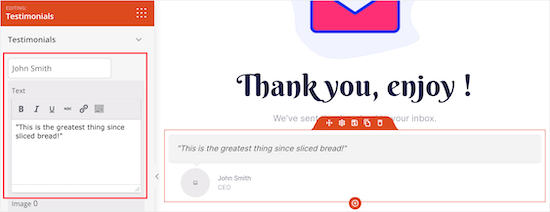
Drag the ‘Testimonial’ block into the page where you want to display it.
Likewise, You can customize the testimonial completely according to you. There, you can add an image, change the testimonial text, style of the text, add links, and more.
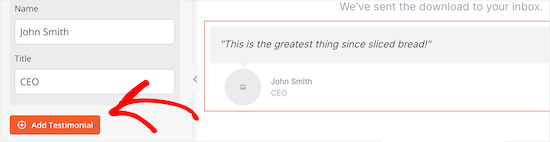
Further, select the ‘Add Testimonial’ button in the left-hand menu to add multiple testimonials.
With this, it will automatically create a rotating block of testimonials.
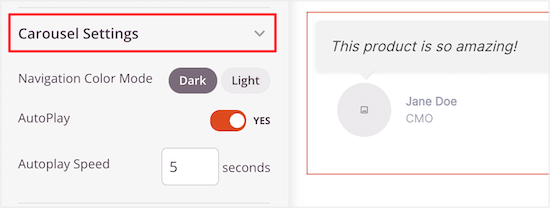
Then, you can also change the appearance of rotating testimonials.
To do this, click the ‘Carousel Settings’ option, which will let you change the slider speed, color scheme, and more.
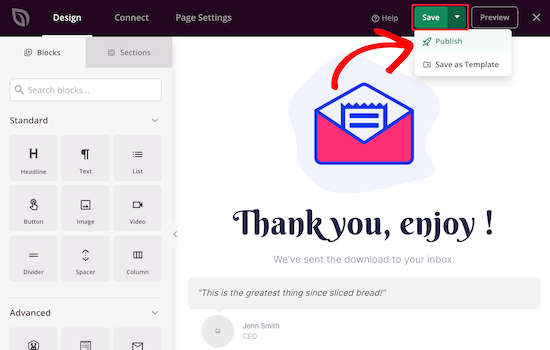
After finishing up, click the ‘Save’ and ‘Publish’ buttons to upload your rotating testimonials on your page or website.
Method 3. Adding Rotating Social Media Testimonials to WordPress Using Smash Balloon

Last but not least, The Smash Balloon is one of the leading WordPress testimonial plugins in the market. It is trusted by more than 1.6 million websites.
It is a cluster of social media plugins, including Instagram, Facebook, Youtube, Twitter, and more. You can choose which social media testimonials you want to include in your WordPress website.
The Smash Balloon plugin can be used to add a rotating Twitter testimonial or rotating facebook or Instagram testimonials.
For this, You can activate, set up, and connect your social media accounts to your WordPress site then your social media testimonials will be automatically updated when new reviews are posted.
If your visitors are already leaving awesome reviews on your Facebook and Twitter. Then, you don’t need to copy-paste new testimonials to your WordPress website because they will be displayed automatically.
Moreover, Smash Balloon provides many options for filtering and moderating reviews to show up on your website.
To Conclude- We hope this tutorial helped you add Rotating Testimonials in WordPress. This article covers plugins such as WP Testimonials Rotator, SeedProdm, and Smash Balloon.
You can select the plugin you like the most to add a rotating testimonial to your WordPress site.