How to Create a Video Membership Site in WordPress
Are you willing to create a video membership site in WordPress and looking for the easiest way to do so?
A video membership website allows you to make subscription plans for your video content. Rather than depending on ads, you can make your users pay to watch your video content.
In this post, we’ll explain how to create a video membership site in WordPress.
Requirements to Start a Video Membership Website?
You can easily create a video membership website using WordPress as your website platform. All you will need is:
- A domain name- Your website’s address (e.g., Hostkicker.com).
- A hosting account for your website- It will store your website files.
- A membership plugin
- A video hosting platform to securely deliver your videos to paid subscribers.
Let’s move ahead to start creating a video membership site in WordPress.
Step 1. Getting Started with a Video Membership Website
The easiest way to create a video membership website is by using WordPress. It is the finest website builder that lets you create any kind of website.
We will use self-hosted WordPress.org to create a website as it gives complete freedom and instant access to all WordPress features.
You will require a domain name and a hosting website account for a self-hosted WordPress website.
We suppose that you already have a domain name and WordPress hosting account.
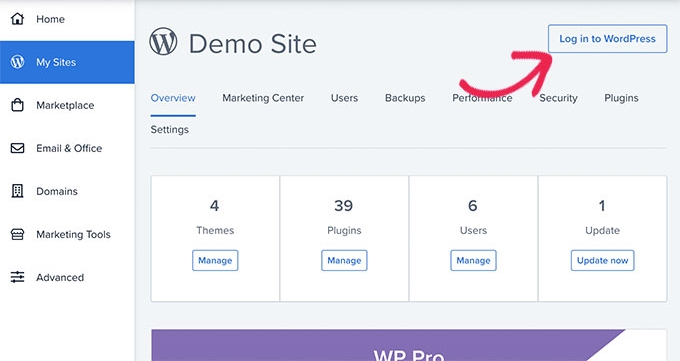
Now, from your hosting account login to your WordPress dashboard.
Step 2. Selecting a WordPress Video Membership Plugin
There are many WordPress membership Plugins that allow you to create a membership website.
Before you select a membership plugin, first, you have to clear in mind what kind of video membership site you want to create.
For example, if you want the users to register and download a few small videos, then you can go with WPForms. It comes with popular payment gateways like PayPal and Stripe, and you can redirect users to any URL or download file page after submitting a form.
In contrast, if you want proper control over user access, multi-level subscriptions, subscription plans, and more, then you can go with MemberPress.

It is the finest WordPress Membership plugin that lets you create membership levels, restrict access to video pages based on levels, accept payments, and more.
Basically, it has all the features you will require to run a video membership website, and it could integrate with other tools as well.
Step 3. Setting Up MemberPress on your WordPress Website.
To create a video membership website using WordPress, we’ll use the MemberPress plugin.
To start, you have to install and activate the MemberPress plugin. If you need help, you can see our tutorial on how to install a WordPress plugin for more details.
After activation, go to the MemberPress » Settings page to adjust the plugin settings.
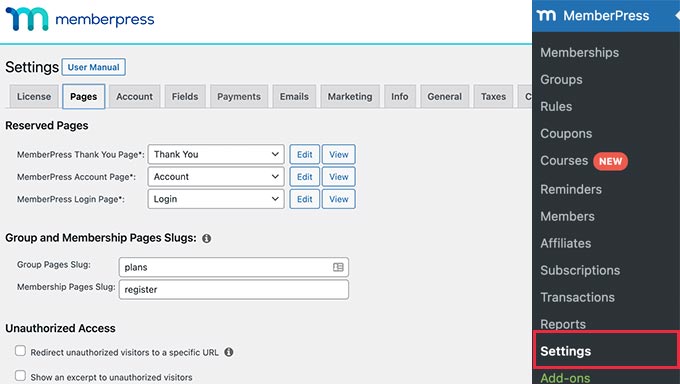
Let’s move on to the next few steps to configure the MemberPress plugin settings.
Step 4. Add Payment Methods
The settings page contains different options.
First of all, we’ll set up a payment gateway that will allow you to get payments on your membership site.
MemberPress offers PayPal, Stripe, and Authorize.net. You have to select the payment method you want to set and provide the required details.
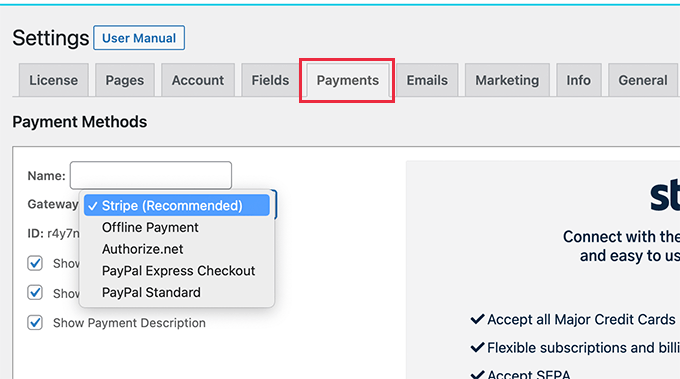
Moreover, it supports multi-payment methods. If you want to set up more than one payment method, go ahead. For example, you can add Stripe and PayPal options together.
After setting payment methods, click on the Update tab to save your settings.
Step 5. Create Subscription Plans for Video Membership Site
Now, you have to create subscription levels for your users so that users can have different subscription options to select from.
For example, you can make plans with different perks, features, access levels. You can also create a free membership plan where users will be given free access where they can watch demo videos and content.
To create a new membership plan, visit MemberPress » Memberships page and select the ‘Add New’ tab at the top.

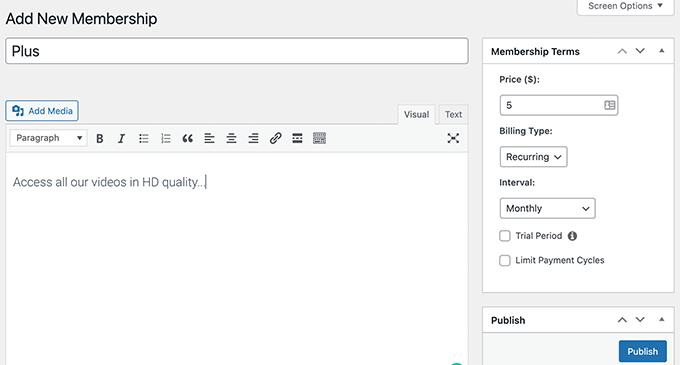
Then, you have to provide a title for the membership plan and then add the details to the post editor.
After that, under the ‘Membership Terms’ section, you have to set the pricing, billing type, interval, and expiration for this subscription plan in the right column.
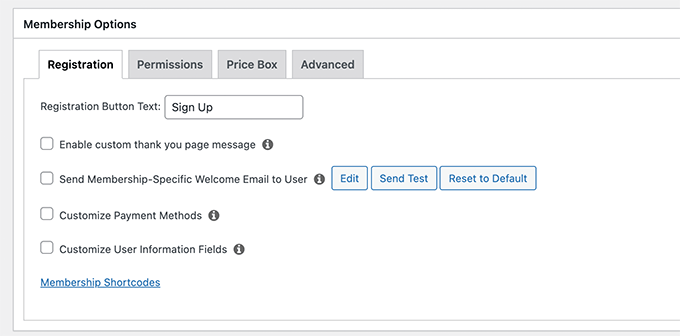
Then, scroll down to the Membership Options box under the editor. From here, you can adjust the plan permissions and membership options.
And once you are happy with the plan, publish it.
Similarly, to create more membership levels, you have to repeat the above process again.
Step 6. Create Access Rules for Video Membership Plans
You have to set up access rules for your video membership plans in this step.
MemberPress gives you complete control, as it includes powerful access rules, which allow you to limit access to any content on your website according to the user’s membership plan.
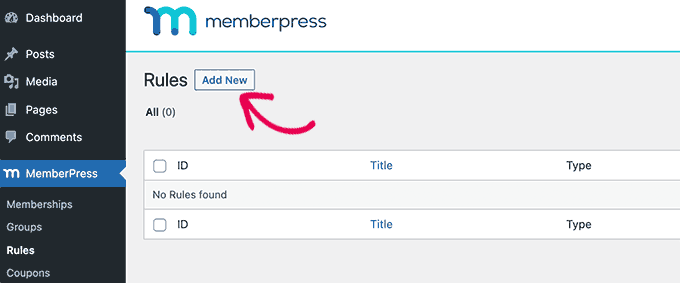
Go to the MemberPress » Rules page and click on the Add New tab to create a new rule to set up rules.
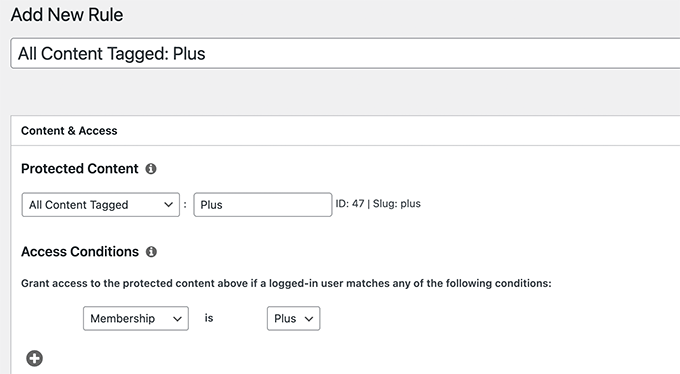
In the rule edit page, you can select different conditions and then associate them to any membership plan.
For example, you can select all content similar to a particular category and make them available only to members with the Plus plan.
In addition, you can target specific pages, posts, URLs, and more to a specific plan.
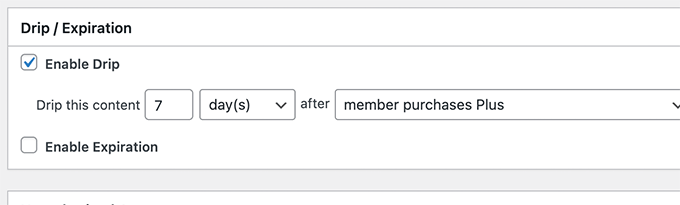
Setting Up Drip Content Rules
MemberPress contains a drip content feature that allows you to automatically give access to users to your videos on a schedule. Rather than giving them access to all premium content as they sign up.
This feature helps you to keep users engaged for longer, which provides you the chance to upsell more plans/ products or offer a better user experience.
For example, you can create a rule for posts with a specific tag/ category and make them available after one week when a user is registered.
After adjusting the Rules settings, you can click on the Save Rule tab to apply the changes.
Similarly, you can create more rules for your video membership plans by following the above process again.
Step 7. Add Members-Only Content in MemberPress
You can add members-only content to your website using MemberPress.
First of all, you have to create a post or page where you will add up your video and restrict access to that page.
After that, we will explain how to add members-only videos with security so that they are not easily accessible or stolen from your website.
For that, create a new post/ page in WordPress and then add the category or tag that you added as a rule in Step 6.
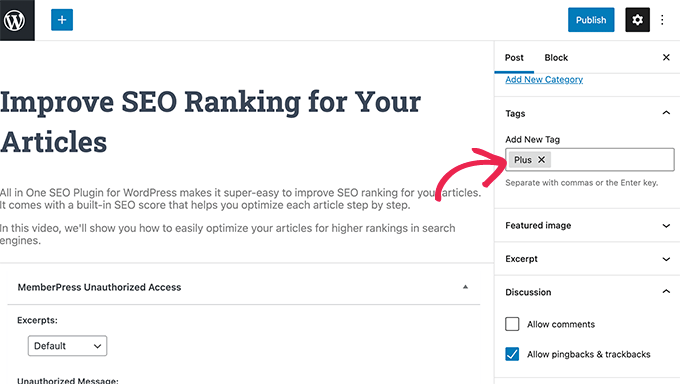
Then, go ahead and publish your restricted post/page.
Step 8. Uploading Members-Only Videos in MemberPress
While uploading the members-only videos, you must be worried about controlling who has access to paid content and offering the best visual experience.
We strongly suggest that you don’t upload videos to your WordPress media library similar to images.
This is because it is not secure or private, and these video files use a lot of storage, server resources, and bandwidth, which will slow down your site or even crash your site.
To upload your videos, we suggest you use Vimeo or AWS.
Let’s explain them briefly.
Method 1. Uploading Members-Only Videos using Vimeo
Vimeo is a simple tool to create, manage, and share high-quality videos. They provide different plans to start with them and offer great privacy control while easily uploading videos on your membership website.
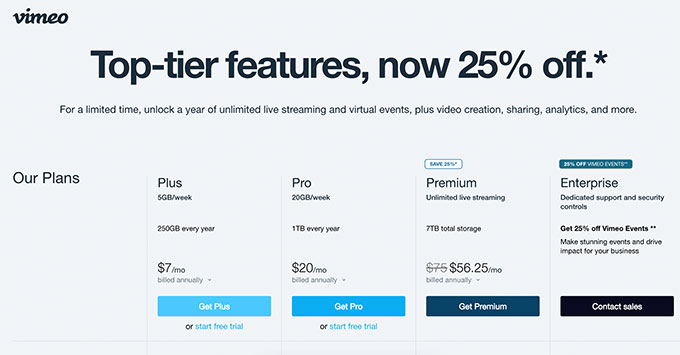
Using Vimeo, you can make your videos private, password-protect them, and more.
Besides privacy and security features, it also offers your users a much better visual experience.
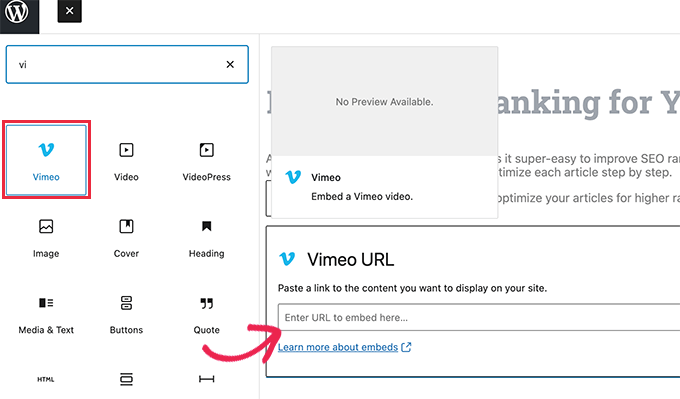
You can easily upload Vimeo videos on your members-only website. You have to copy and paste the video URL in your content, and WordPress will automatically fetch and upload it.
Method 2. Uploading Members-Only Videos using AWS
Amazon Web Services( AWS ) is a pay-per-use model service.
Initially, they offer a limited free trial for videos; after that, you’ll be charged for bandwidth and storage use.
You will have to host your videos on the AWS platform for this method.
Setting up AWS
To start with this, you have to visit the Amazon Web Services (AWS) website and sign up for a new account.
AWS comes with many cloud services. But for a video membership website, we’ll use Amazon S3 cloud storage to host our video files.
To select the service, click on the Services menu at the top and then search for S3.
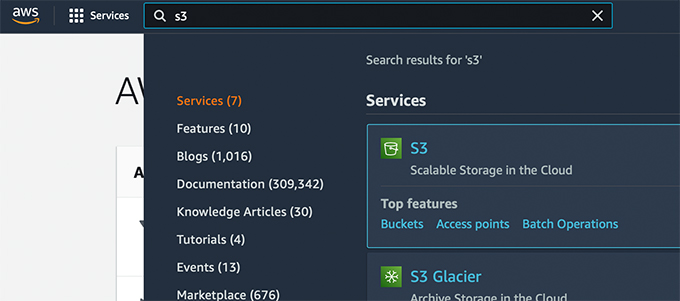
After clicking it, you will reach the S3 cloud storage dashboard.
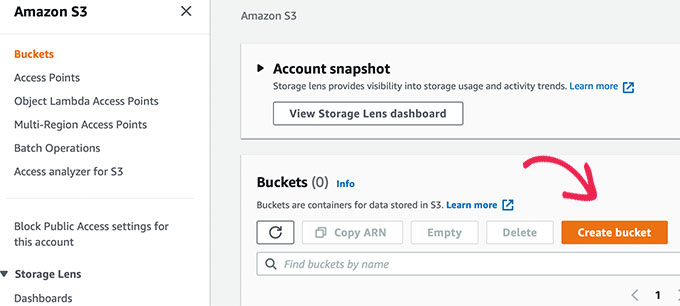
The S3 cloud storage is organized into buckets. You can create buckets for each website or project as per your need.
Now, you have to create a bucket to store your members-only video files.
After that, you have to enter a name for your Bucket and select a region.
Note: Your bucket name should be in lowercase only, and select a region close to most of your users.
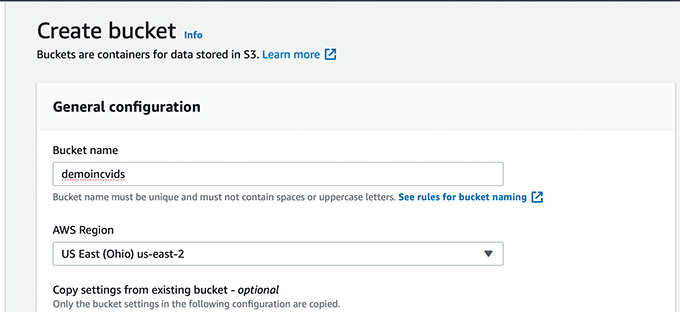
For other options, leave the default settings and click on the ‘Create Bucket’ tab to continue.
AWS will create a bucket for you where you can upload your videos files. Now, open your Bucket by clicking on it and selecting the Upload tab to add your first video.
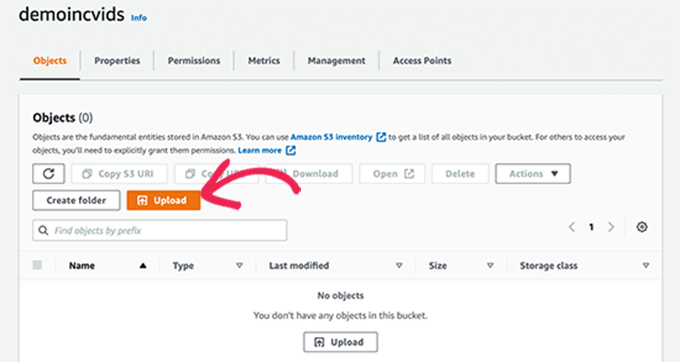
To upload more files in the future, repeat a similar process.
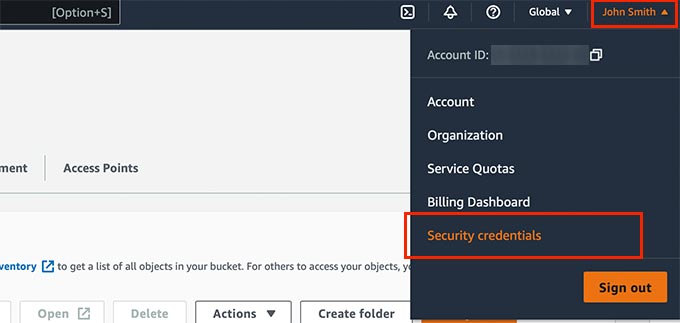
The video files you uploaded to AWS are not publicly visible yet. For that, you have to generate security credentials for it.
To create security credentials, click on your Account title at the top right corner and then click on the ‘Security Credentials.’
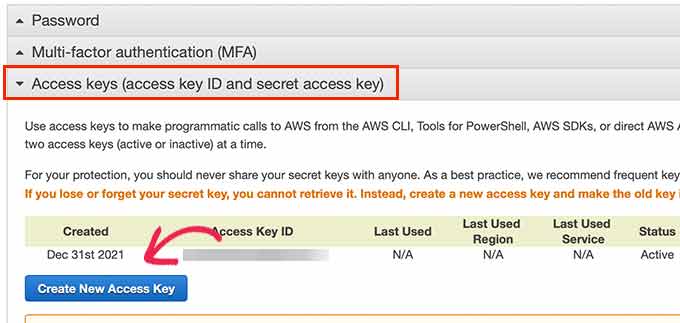
After that, click on the Access Keys option and then the ‘Create New Access Key’ tab to generate new keys.
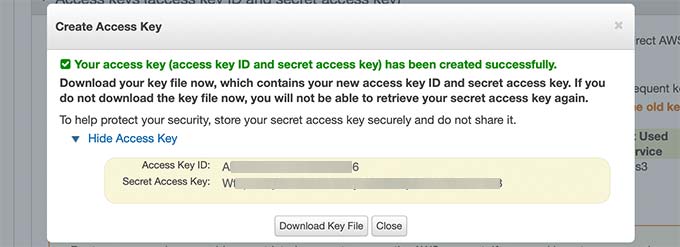
A popup will arise where you have to click the Show Access Keys link. From there, copy your Access Key ID and Secret Access Key and then paste them into a text file. You’ll need them later.
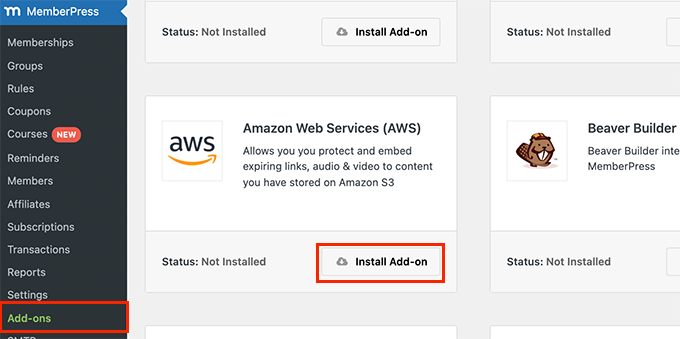
Next, visit your WP admin area and go to the MemberPress » Add-ons page.
Then, look for Amazon Web Services (AWS) and click the Install Add-on button.
Connecting ASW with MemberPress
Now, you have to connect MemberPress to your AWS account.
Visit MemberPress » Settings page and select the AWS tab to connect it.
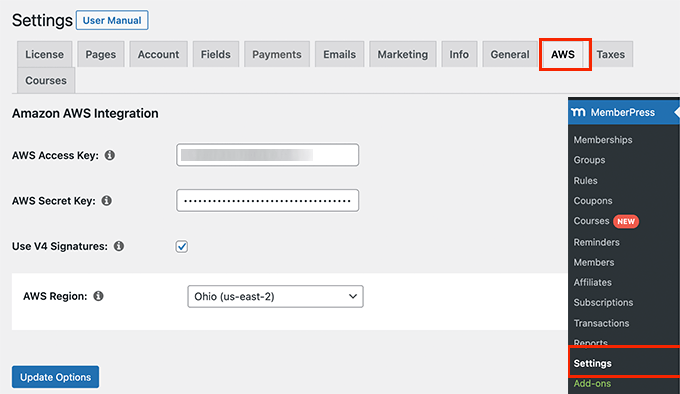
You have to copy and paste the Access Key and Secret Key you copied to the text file in the earlier step.
Tick the box next to the V4 Signature and then choose your AWS region from the drop-down menu. Pick the same region you used when setting up your S3 Bucket.
After that, click on the Update Options tab to save your settings.
Add AWS Hosted Videos to Your WordPress Site
After connecting your MemberPress to your AWS account, you can add your videos to your members-only pages and posts.
You will have to upload a video using a shortcode like this:
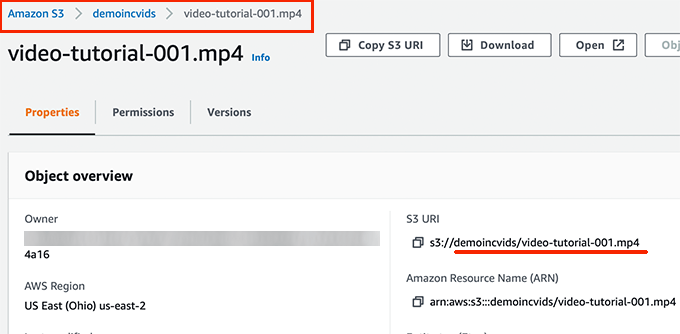
[mepr-s3-video src=”demoincvids/video-tutorial-001.mp4″]
Note: You have to replace this video’s location with your video address.
To find your video’s location visit your S3 dashboard from your Amazon AWS account. Then, click on your Bucket and select the file name. You will see the file location.
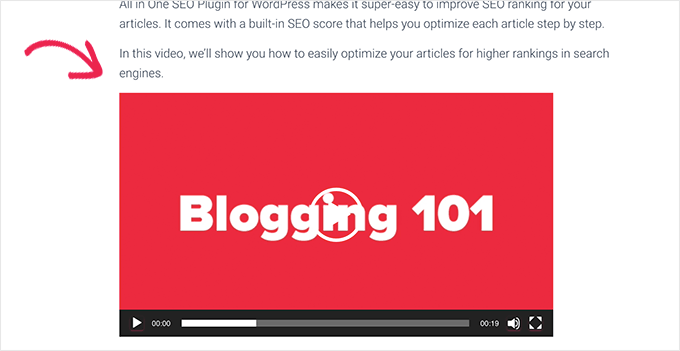
After adding the shortcode, save your post/ page and preview it to see your video uploaded in action.
You can repeat a similar process to add more members-only videos to your site.
Step 9. Mak a Pricing Page for Your Membership Plans
If you are offering multiple plans, then you may want to create a pricing page where users can relate and select a plan.
You can also redirect users to this pricing page who try to access your website’s restricted or paid areas.
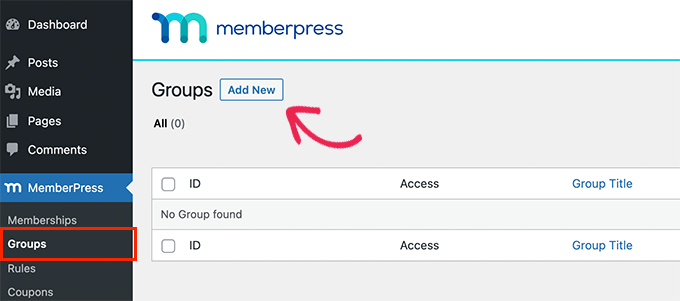
To do that, go to the MemberPress » Groups page and click on the Add New tab at the top.
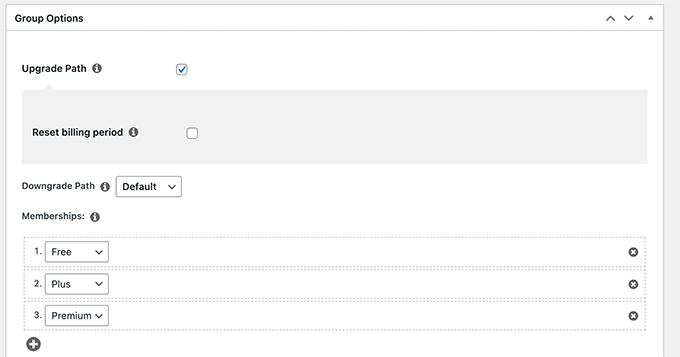
Next, provide a title for your pricing page and then select the plans you want to include.
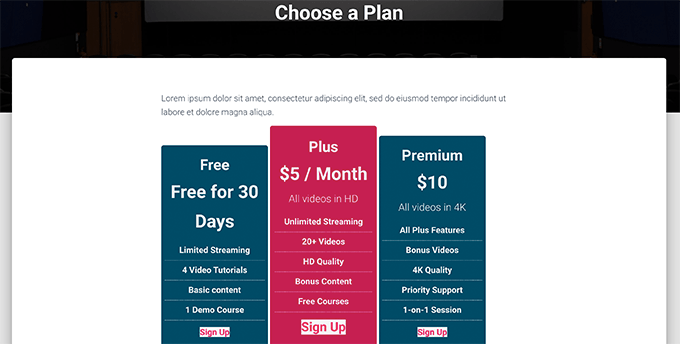
You can also use a theme for the pricing table. MemberPress includes some ready-made templates for it.
After adjusting the settings, click on the ‘Publish’ tab to make your plan publicly visible.
After publishing it, you can preview your pricing page by clicking on the ‘View Group’ link.
Redirect Users to Your Membership Plans Page
After creating a pricing page, you may want to automatically redirect users to see and relate the plans and then select to buy a plan.
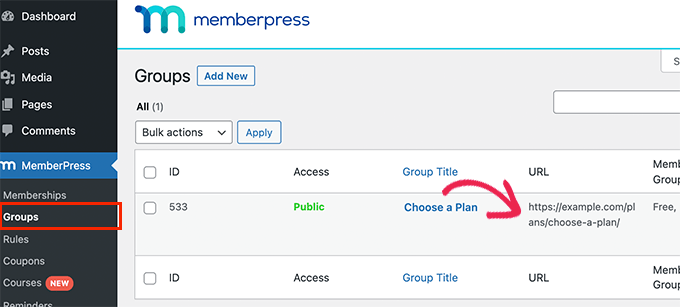
To do that, you have to visit MemberPress » Groups page and copy the URL next to the group you created in the earlier step.
Afterward, navigate to MemberPress » Settings page and switch to the Pages menu. From here, you have to scroll down to the ‘Unauthorized Access’ area.
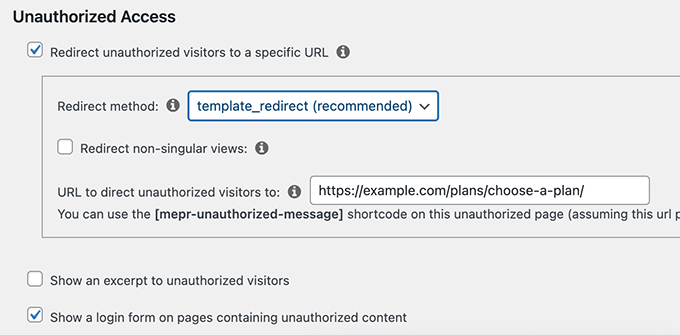
Then, you have to check the box next to the ‘Redirect unauthorized visitors to a specific URL’ option and then paste the group URL you copied.
After that, click on the ‘Update Options’ tab to save your changes.
Now, the unauthorized users who don’t have any subscription play will be redirected to the pricing plans page when they try to access your secure videos or members-only content.
Step 10. Create Sign Up and Login Forms for Your Video Membership Site
After setting up everything, let’s create sign-up and login forms to allow users to easily log in to their accounts or sign-up for a new one.
MemberPress allows you to add login forms to your website easily.
Simply visit the Appearance » Widgets page and add the ‘MemberPress login’ widget to a sidebar.
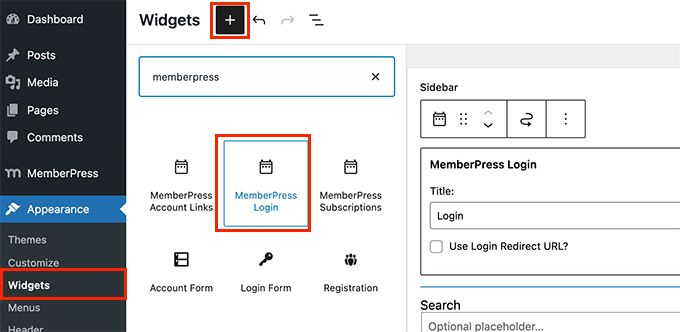
After that, make sure to click on the Update tab to save your widget settings.
Next, you can add a link to the pricing page to your website’s navigation menu.
For that, go to the Appearance » Menus page and click on the Groups option to expand it. Select the pricing plan group you created and then click on the Add to Menu tab.
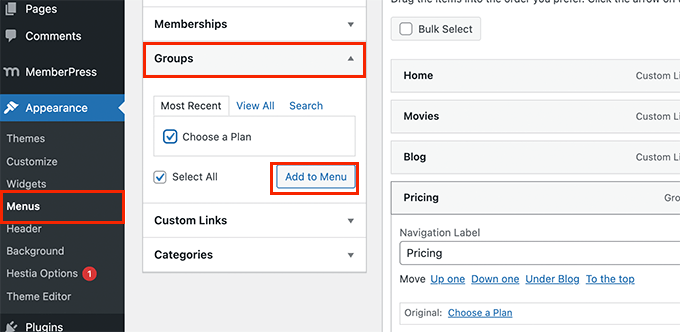
Then, make sure to click the Save tab to store your changes.
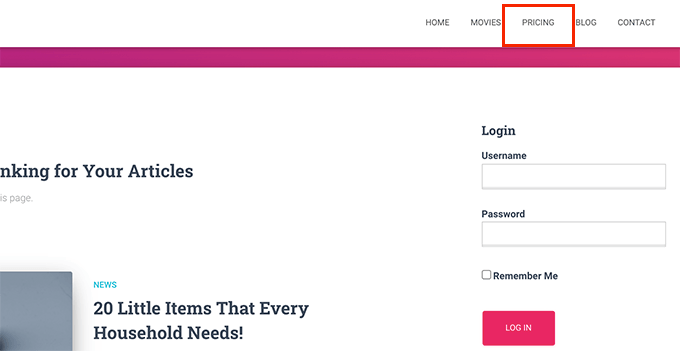
You can now step out of your admin area and visit your website to see everything in action.
Step 11. Customizing Email Templates for Your Membership Site
Your video membership website will send emails to the users when they sign up for a new account or forget their password. You may also want to send an email when their membership is about to expire to inform them about new plans and so on.
MemberPress provides you an additional option to customize the email templates for your site.
For that, you have to go to the MemberPress » Settings page and select the Emails menu.
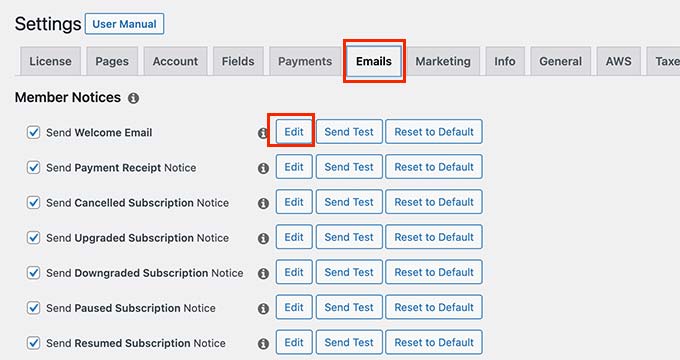
From here, you will notice the list of emails that your video membership site will send. You can select anyone to edit it.
Now, this will open the email template in a plain text editor. Below you will find smart tags to help you customize your messages and match them to your brand’s theme and messaging.
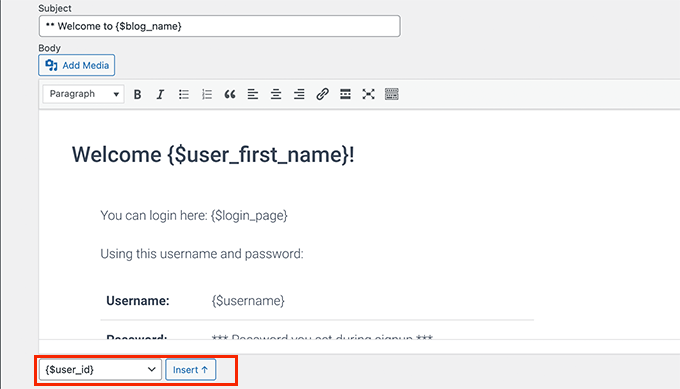
Note: After customizing the settings, You can try to send test emails to make sure they are working properly.
We hope this post helped you create a video membership website in WordPress. If you liked this article, you might also like to see another article on How to create a coupon website in WordPress.