How to Display Related Posts in WordPress (Explained)
Do you want to display related posts on your WordPress site?
Related posts in WordPress can help your visitors find related and new content that keeps them engaged, which can lower your bounce rate, increase page views, and improve the site’s SEO.
In this write-up, we will explain how to display related posts in WordPress in detail.
Why display Related Posts in WordPress?
If you started a new WordPress website, your visitors could easily find all your content without having any problem.
But, as your site grows, the number of articles on your size increases as well. That makes it difficult for visitors to find your most important pages.
The easiest way to help your visitors find new content on your site is by showing related posts. You can display your best content, keeping your readers engaged on your site and boost your site’s SEO
Here, we will explain two methods of displaying related posts, so you can select the one you prefer. If you want to try our other ways as well, you can see our another tutorial displaying different methods to show related posts in WordPress.
Method 1: Display Popular Posts Using MonsterInsights
Placing the most popular posts rather than related posts helps get higher page views and readers’ engagement. That is why most publishers now display popular or trending posts instead of related posts on your website.
MonsterInsights is the finest WordPress Analytics plugin you can use to display the popular posts in WordPress.
It also helps you set up Google Analytics in WordPress without doing anything manually.
Using MonsterInsights, you can display your best blog posts on your website using the Popular Posts feature.
To start, you have to install and activate the MonsterInsights plugin first. You can see our guide on how to install a WordPress plugin for more details.
After activation, visit Insights from your WordPress admin dashboard. Now, click on the ‘Launch the Wizard’ tab to configure the plugin on your site.

Then, go to Insights » Popular Posts from your admin dashboard. MonsterInsights offers you different options to show related posts on your WordPress website.
You can choose the ‘Inline Popular Posts’ option to display articles within your content or use the ‘Popular Posts Widget’ to show related posts at the end of a post or in the sidebar.
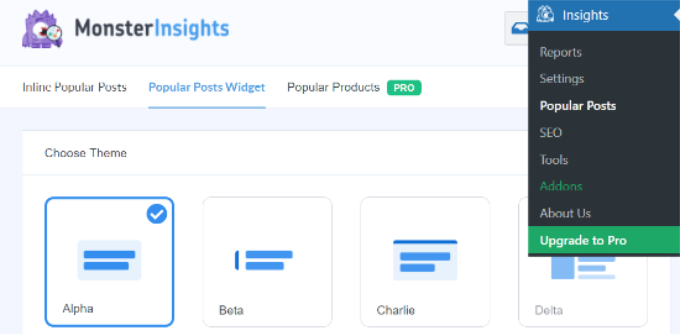
For now, we are using the Popular Posts Widget option to show related posts at the end of an article.
The plugin offers pre-built templates to select from to show related posts. After upgrading to its Pro version, you can use more themes and design options for showing your popular posts.
It also displays a preview of how your related posts will appear on the website in the ‘Theme Preview’ area.

After choosing a theme, scroll down to customize the design. Here, You can choose the color and size of the title, background color, the layout, and select the post count to show in the widget.

Then, scroll down to the ‘Behavior’ area and adjust the Widget Styling. You can select the default styling and if you want to edit the appearance of your popular posts widget, select ‘no styling.’
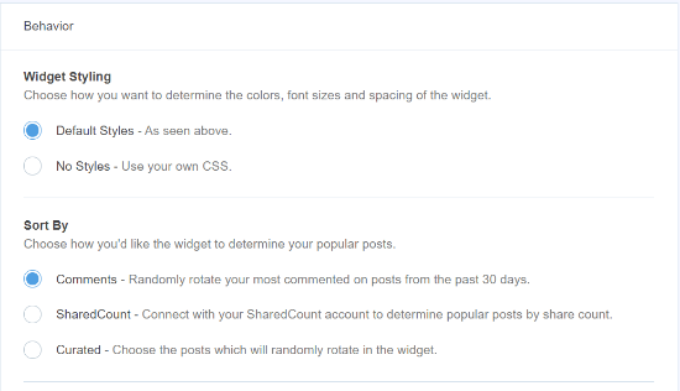
After that, you can select the way to determine which related posts should be displayed. The MonsterInsights plugin can sort popular posts on the basis of share count comments or show a custom list of posts.
The Comments options randomly rotate the most commented posts from the last 30 days. Next, the SharedCount show posts with the most shares, and the last curated option allow selecting specific posts in the widget.
If you are using the MonsterInsights Pro version, you will get an option to show the 5 top posts from the last 30 days.
Next, you can show the widget title by switching on the ‘Display Title’ toggle. Switch the toggle ‘on’ and enter a title that will be shown above your related posts.

Then, select ‘Posts’ in the post type to include it in the widget.
Now, you can select how to embed your popular posts widget in WordPress. The plugin offers different options, and you can choose automatic or manual placement.
If you choose ‘Automatic Placement,’ the plugin will show your related posts below the last paragraph of your blog posts.
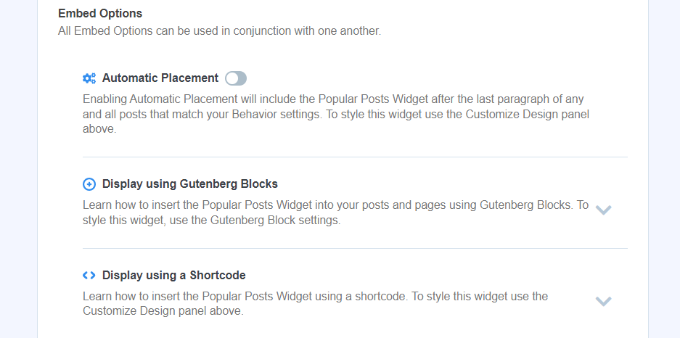
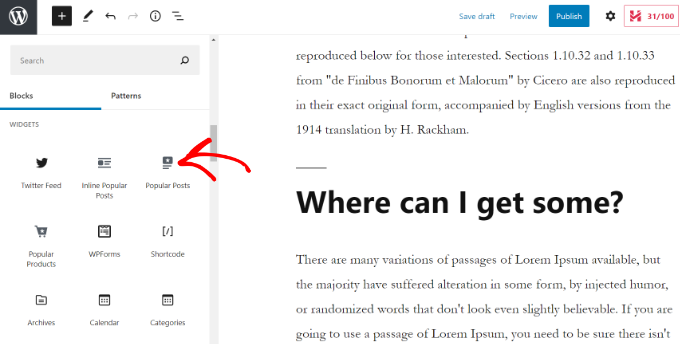
To manually display the related posts widget on any post/page, you can use a shortcode or a Popular Posts block.
For that, edit an existing post or add a new one.
After that, in the WordPress editor, click the ‘+’ plus icon and add a ‘Popular Posts’ block on the place where you want it to appear in your content.
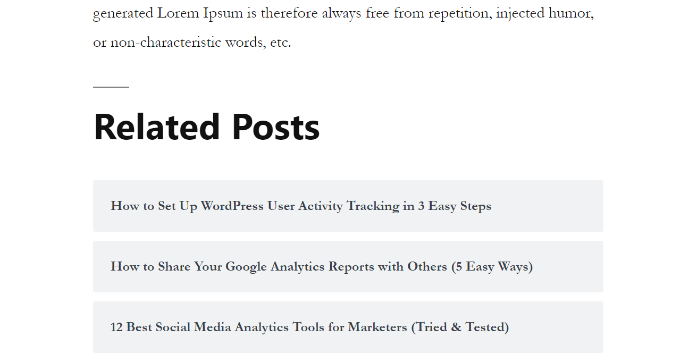
Now, the plugin will add your most popular articles and display them as related posts automatically. You can visit your website to notice them in action.
Method 2: Display Related Posts using YARPP Plugin.
You can use another plugin to display related posts in WordPress.
The Yet Another Related Post Plugin (YARPP) is the finest popular posts plugin that automatically lets you display your top blog posts.
The plugin uses a customizable algorithm considering post titles, tags, categories, and content to calculate a score for the posts on your website.
To start, you have to install and activate the YARP plugin on your WordPress site. You can see our step-by-step tutorial on how to install a WordPress plugin for more details.
After activation, visit Settings » YARPP from your admin dashboard and configure the settings.
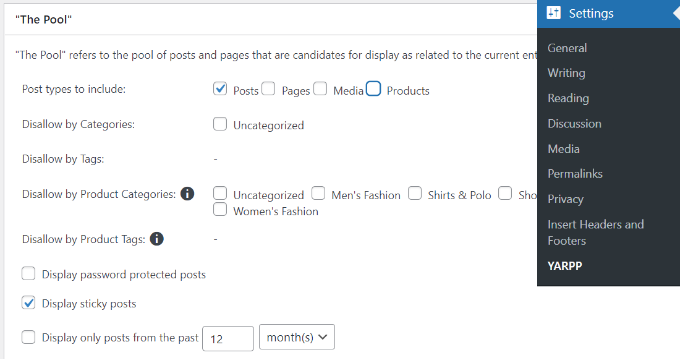
In the ‘The Pool’ section, you can select which post types you want to include in related posts. These include pages, posts, media, and products.
Besides that, there are options to disallow content from categories and tags and more.
There are options asking to display password-protected post display sticky post and display the post from last month. You can select according to your needs.
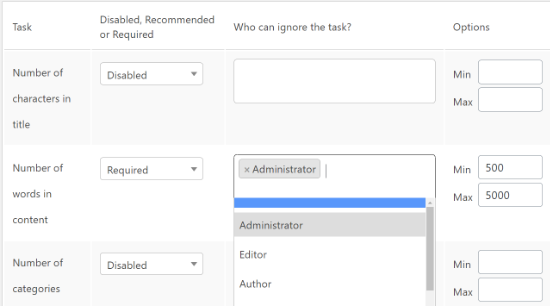
After that, scroll down to edit the algorithm settings.
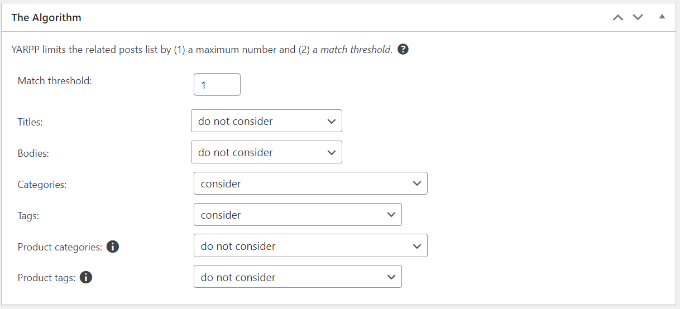
You can set how the algorithm should act when selecting related posts. If you need the algorithm to be strict while selecting related posts, then increase the Match threshold number.
The Match threshold is set to 1 by default, making it less strict in finding related posts. We suggest using the default settings when you have a new website and then adjusting the settings as your site grows.
Also, You can adjust the settings to consider matching titles, categories, tags, content, and more to find related posts.
Now, scroll down and select the display options for your related posts under the ‘Automatic Display Options’ area. The plugin offers three options List, Thumbnails, or adding a custom theme.
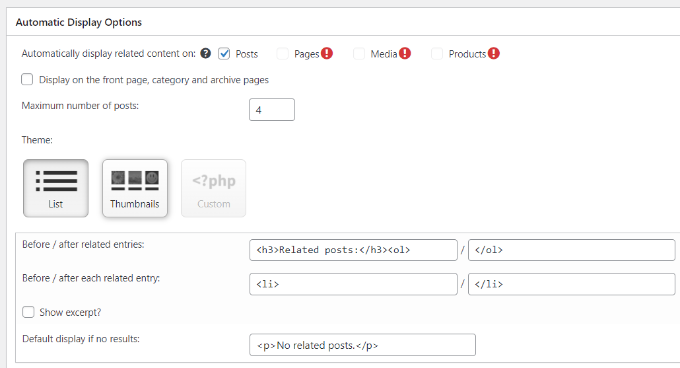
Also, You can select the maximum number of posts to include in the related posts and choose where to display related content automatically.
After customizing the display settings, you can scroll down to see the preview of how your related posts will appear.

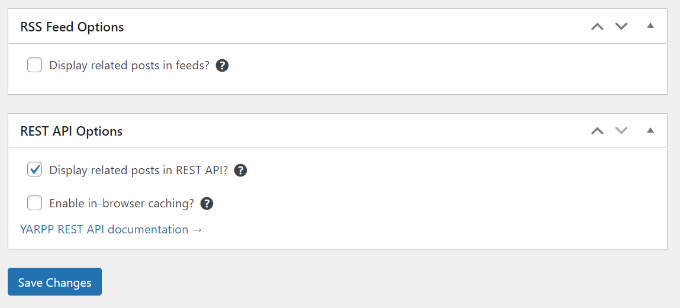
At last, scroll down to the bottom and enable the RSS Feeds and the REST API options.
After customizing the settings completely, click the ‘Save Changes’ tab.
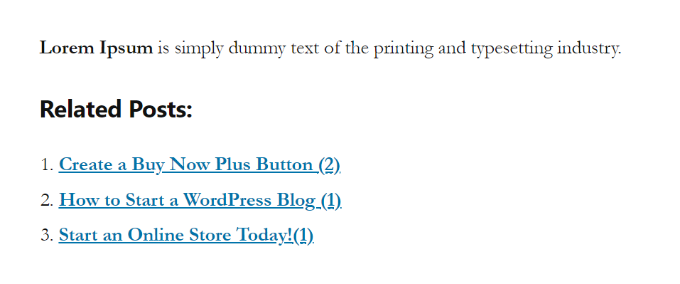
Now, You can go to your website to see the related posts in action.
We hope this write-up helped you to display related posts in WordPress. You can use the MonsterInsights plugin or the Yet Another Related Post Plugin (YARPP).