How to Limit Login Attempts in WordPress
Do you want to limit login attempts in WordPress?
The idea of limiting login attempts is great to secure your site from a hacker.
In order to guess your admin password, hackers may use brute force attacks. By limiting the number of attempts to log in, you can minimize the chances of their success.
Here, we will discuss how to limit login attempts on your WordPress site.
Why Limit Login Attempts in WordPress?
The hackers use the brute force attack method in which they use trial and error to hack your WordPress website.
The most common approach to brute force attack is password guessing. Hackers use automatic software to keep guessing your login details to gain access to your website.
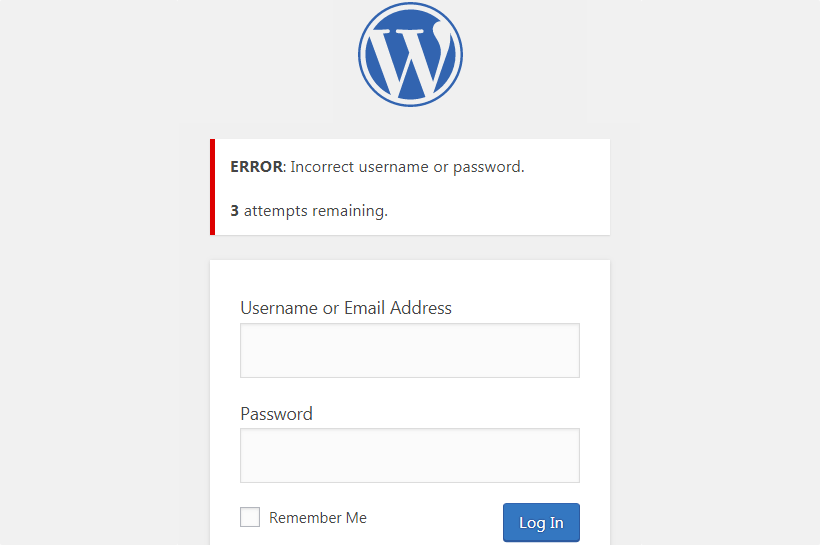
WordPress lets users enter passwords many times by default. Hackers may exploit this by using scripts that enter different combinations till they guess the correct login password.
Therefore, you can limit the number of failed login attempts per user in WordPress to prevent brute force attacks. Like, you could temporarily restrict a user after 5 failed login attempts.

Sometimes, some users get locked out of their WordPress website after entering an incorrect password many times. In this situation, you can follow the instructions in our tutorial on how to unblock limited login attempts in WordPress.
Now let’s see how you can limit login attempts on your WordPress website.
How to Limit Login Attempts in WordPress
To limit login attempts in WordPress, You have to install and activate the Limit Login Attempts Reloaded plugin. You can see our tutorial on how to install a WordPress plugin.
The plugin comes with free and pro versions. But the free version is enough for this tutorial.
After activation, you have to go to the Settings » Limit Login Attempts page and then click on the Settings button at the top.

The default settings can work well for most websites, but here we’ll explain how you can customize the plugin settings for your website.
You can check the ‘GDPR compliance’ checkbox to show a message on your login page in order to be compliant with GDPR laws.
Then, you can select if you want to get a notification when someone is locked out, and you can also add the email address to which you want to send the notification only if you like to. The default settings will notify you after the user is restricted a third time out of your site.
After this, scroll down to the Local App section to choose how many logins attempts you want to allow and after what time the users can try again.

First, enter the login attempts users can make. Then, enter the time user will have to wait if they exceed the limit of failed attempts. The default time is 20 minutes.
You can also increase the time they have to wait once the user has been locked out after a specified number of times.
For example, the default settings will restrict the user to try logging in for 24 hours when they are locked out 4 times.
Next, We suggest you don’t change the ‘Trusted IP Origins’ setting due to security reasons.
After adjusting the settings, click on the Save Settings tab at the bottom of the screen to store your changes.
To conclude-
By default, WordPress lets users enter passwords as many times they want. But you can limit login attempts to secure your site from brute force attacks by hackers. You can install the Limit Login Attempts Reloaded plugin to secure your site.
We hope this helped you to limit login attempts in WordPress.
