How to Set a Minimum Word Count for WordPress Posts
Are you willing to set a word count for your WordPress blog posts?
If you run a multi-author website, setting up a minimum word count can help writers fulfill content standards and completely answer the reader’s questions.
In this write-up, we will discuss how to set a minimum word count for your posts.
Why Seta Minimum Word Count for Your Blog Posts?
Whether you create content yourself or have a multi-author website, you must fix certain content standards to provide top-quality articles.
For instance, you should set up a minimum word count for each post on your WordPress website. With this, you can restrict authors from publishing blog posts with narrow content and make sure high-quality content.
The lengthier content tends to rank remarkably high in search results than short content, which can help you grab more traffic to your blog post.
Now, let’s explain how you can set a minimum word count in your WordPress post.
Method 1: Setting a Minimum Word Count Using a Plugin
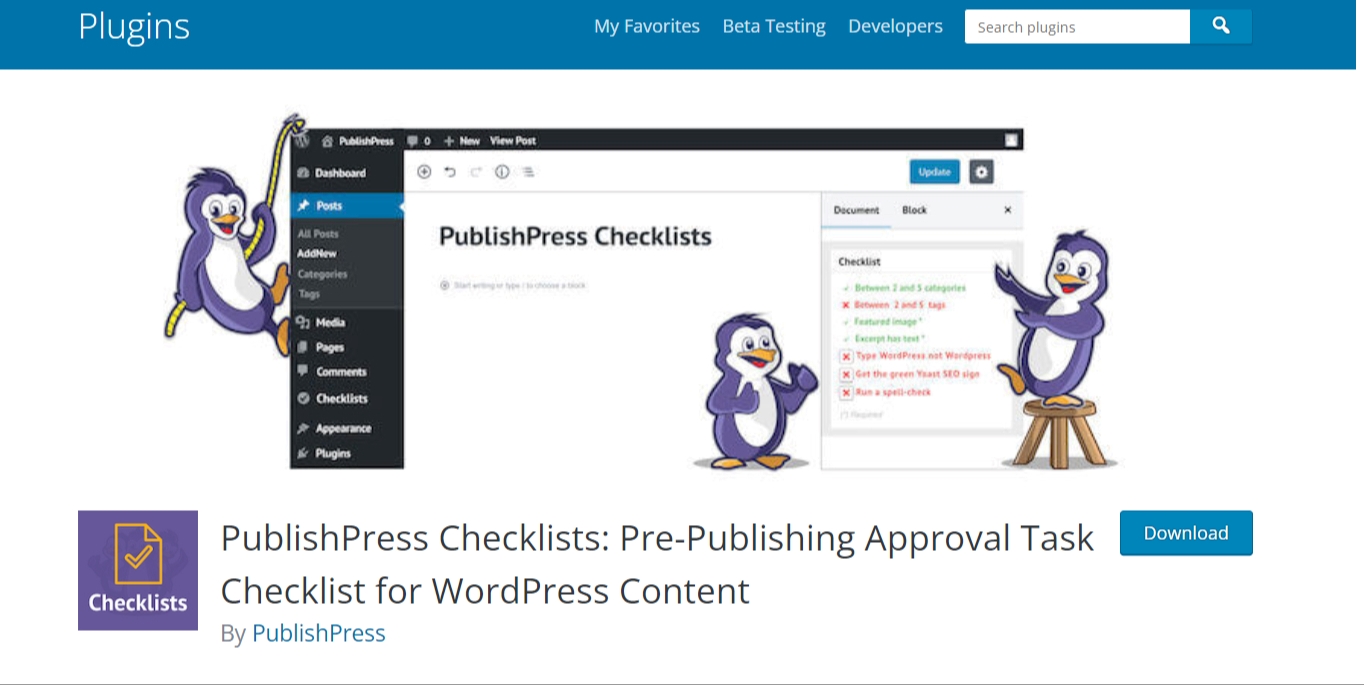
The easiest way to set a minimum word count to your WordPress site is by using a PublishPress Checklists plugin.
The plugin lets you set different tasks that authors must complete before publishing any content. Such as adding a minimum and maximum word count on posts and pages on your site.
The plugin comes with Free and Premium versions. You can install the free version of the PublishPress Checklists plugin, as it has the features we need for now.
To start, you have to install and activate the plugin. For more details, You can see our step-by-step guide on how to install a WordPress plugin.
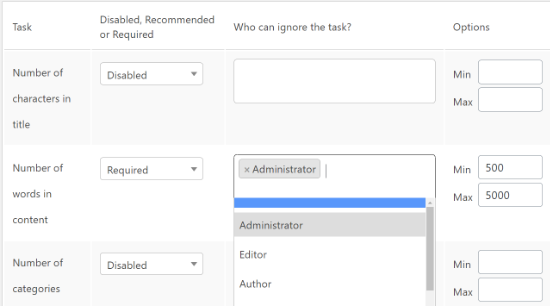
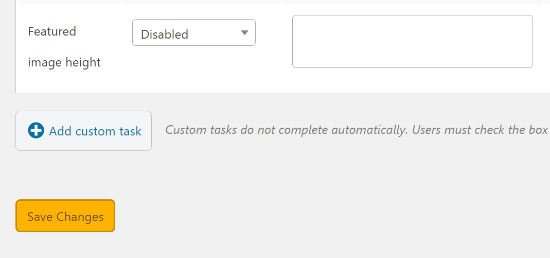
After activation, Visit Checklists from your WordPress admin dashboard. There, you can fix minimum, and maximum word count into the ‘Number of words in content’ option provided.
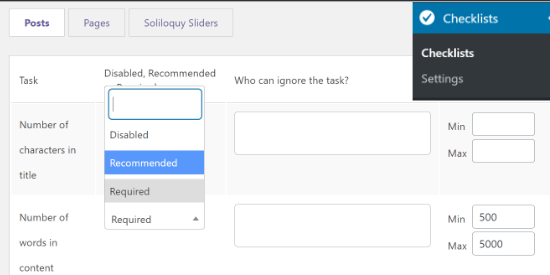
Then, you can select one of the options disabled, required, or recommended task from the dropdown menu for the ‘Number of words in the content.’
If you choose Recommended, authors can publish articles even if they don’t fulfill the minimum word count.
But, the Required option makes it compulsory to complete the word count task, so choose the Required option.
It also lets you add user roles to exclude from completing the word count requirement. For this, click the box under the ‘Who can ignore the task’ column and choose a user role.
After setting the word count, the authors should complete, scroll down and click on the ‘Save Changes’ tab.
Now you can see the minimum word count requirement in action.
Visit Posts » Add New to create a new post.
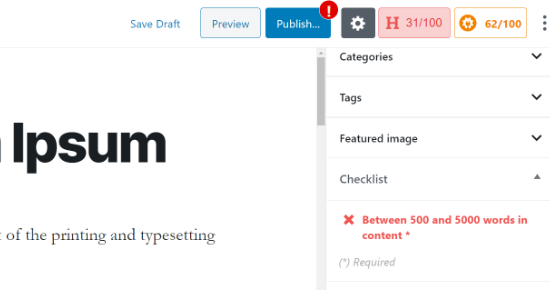
While working on a post, if it doesn’t contain the minimum number of words required, a warning icon will appear on the ‘Publish’ tab in the WordPress editor.
It will also display that did not meet the word count task in the ‘Checklist’ settings box on your right menu.
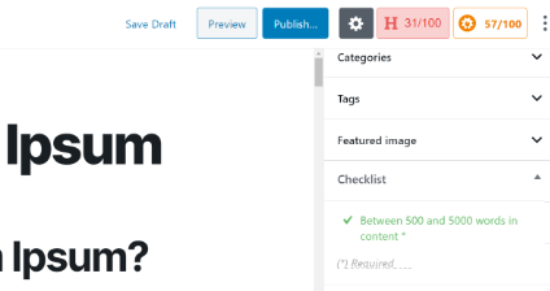
Once your content reaches the minimum word count, the checklist will show a green signal, and authors can publish the blog.
Method 2: Setting a Minimum Word Count Limit manually
You can also manually set up a minimum word count on your WordPress website. For this, you have to add a code snippet to your functions.php files in your WordPress theme.
But, we don’t suggest editing your site’s theme files because even a small mistake can cause serious issues or prevent you from accessing the WordPress admin dashboard.
The easiest way to add code to your site is by using the Code Snippets plugin. The plugin allows you to add custom code to your site easily.
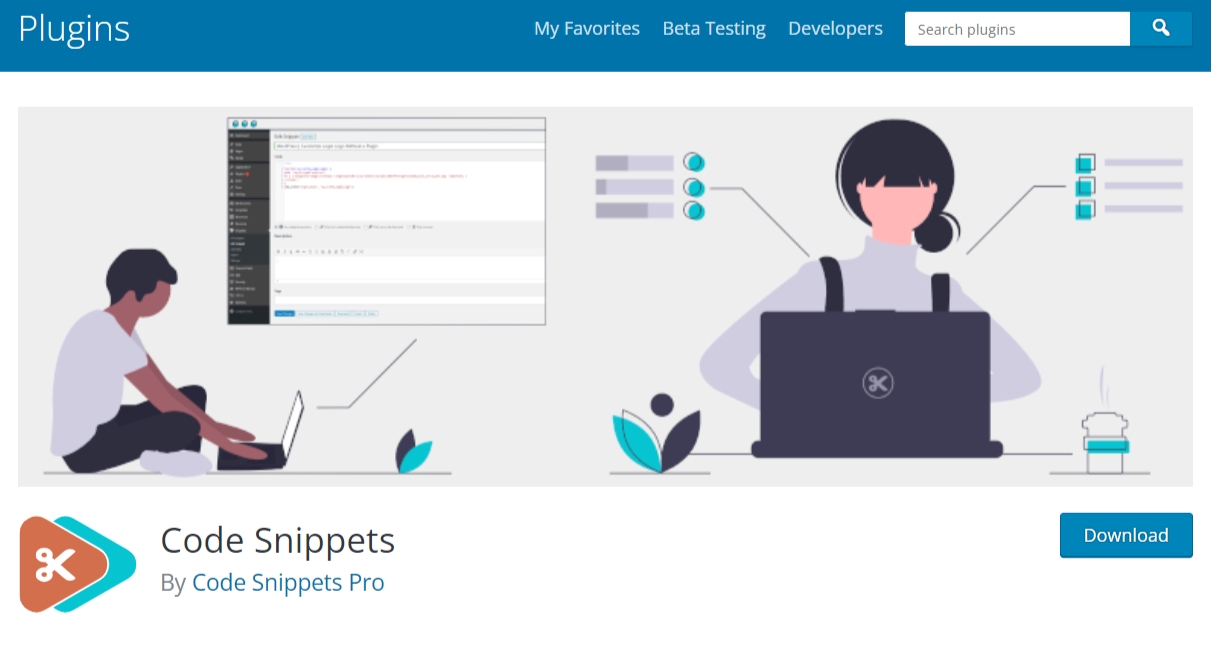
First, you have to install and activate the Code Snippets plugin.
You can see our tutorial on how to install a WordPress plugin for more details.
After activating the plugin, go to Snippets » Add New from your WordPress admin dashboard.
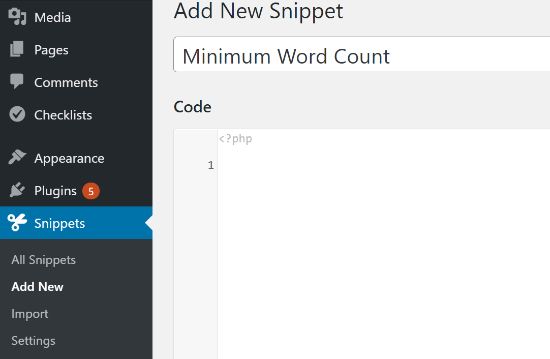
To start, You can also add a title for your custom code.
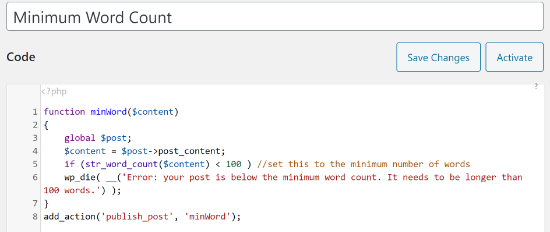
Then, copy the given code:
 function minWord($content)

{

    global $post;

    $content = $post->post_content;

    if (str_word_count($content) < 100 ) //set this to the minimum number of words

    wp_die( __('Error: your post is below the minimum word count. It needs to be longer than 100 words.') );

}

add_action('publish_post', 'minWord');
Note: You can change the minimum number of words from 100 to the minimum word count you want. Make sure to change the number of word counts in both places in the code.
Next, paste the copied code in your new snippet below the ‘Code’ area and click the ‘Save Changes’ and ‘Activate’ tab.
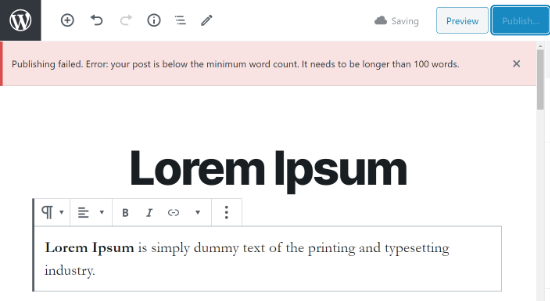
Now, if you publish a blog post that contains words below the word count limit (in our example, 100 words ), then you will notice a publishing error.
We hope this write-up helped you set a minimum word count for your WordPress blog post. If you like this, you might also like to see our tutorial on how to limit number of posts in WordPress RSS feed.