
How to Hide a WordPress Page From Google
Do you want to hide a WordPress page from Google?
There may be many reasons you need to hide your WordPress page or your site from google.
Maybe the page is not relevant to your site’s content, or to keep away unwanted users or to protect your privacy, and so on.
You can hide your page or site from Google in different ways depending upon your need. This write-up will include how you can do this.
Why Hiding a WordPress Post/Page from Google
The Search engines such as Google allow website owners to hide content from search results.
Maybe you want to hide your WordPress posts and pages from the general public, such as your ownership papers, website account details, or pages with private and sensitive information to maintain your privacy and prevent confidential information from getting into the wrong hands.
For instance, if you have a membership website, you can hide the profile pages of your members from search engines.
You can also hide your content from Google if your site is under development and you want to share a preview with your audience. In this way, Google will not index an unfinished website in search results.
Method 1: Using Yoast SEO to Hide WordPress Pages from Google
In this method, we are using the Yoast SEO plugin to hide pages/posts from Google.
For this, first Install the Yoast SEO plugin on your WordPress site and activate it.

You can see our stepwise guide on installing and activating a WordPress plugin.
After activation, go to Pages >> All Pages from your dashboard and edit the page you like to hide from Google.
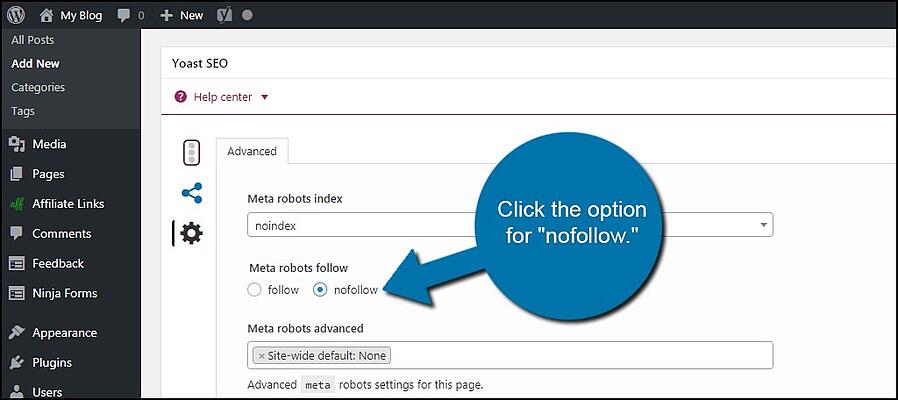
Below the post editor, scroll down to the Yoast SEO meta box. Now, select the gear icon to open the plugin’s advanced settings.

You have to add meta tag robots to tell search engines such as Google not to follow or index the page.
For this, click Noindex from the drop-down menu under the “Meta robots index” option and then click Nofollow under the “Meta robots follow.” option
After the settings, Save or Publish your post.
Now, the Yoast SEO will add up a code line to the page similar to the below code:
<meta name="robots" content="noindex,nofollow"/>
This will now instruct the Search engines not to follow or index this page. If you’d like to hide this page only from Google and not all search engines, then replace “robots” with “Googlebot.”
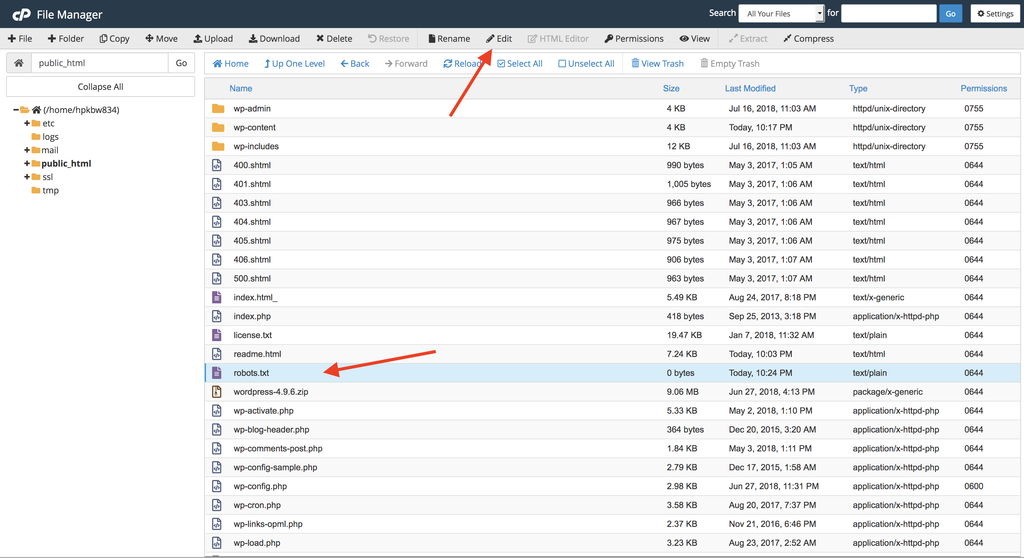
Method 2: Hiding a WordPress Page Using robots.txt File
In this method, you have to edit the robots.txt file, a configuration file that gives instructions to search engine bots.
This method is not recommended for beginners because adding incorrect instructions in this file can harm your site’s SEO.
For this method, You have to edit the robots.txt file by connecting to your website by using file manager or FTP client in the hosting cPanel and going to the root directory of your website.
Add the following code lines to your robots.txt file:
 User-agent: *

Disallow: /your-page/
In the above lines, the user-agent line lets you target specific bots. Here, we used an asterisk sign to include all search engines.
The second code line is the part of the page URL that comes after your site name.
For example, you want to hide a post with a URL like below:
http://mysite.com/2016/12/my-blog-post/
Here is how you have to add this URL to your robots.txt file:
 User-agent: *

Disallow: /2016/12/my-blog-post/
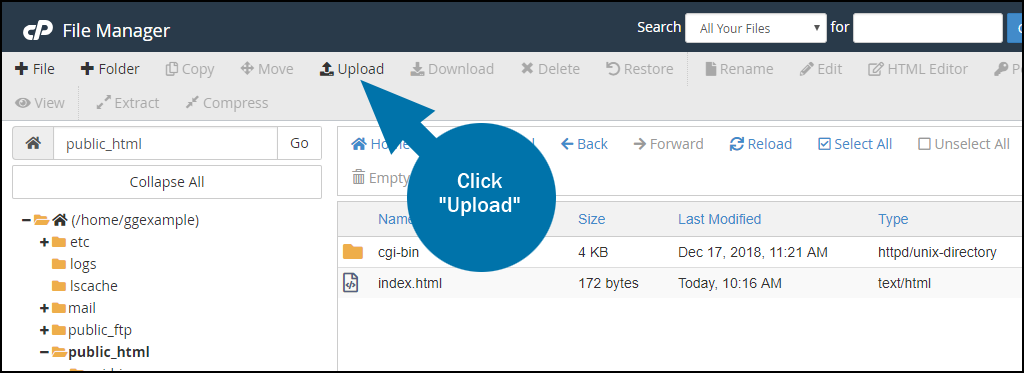
After that, save the changes and upload your robots.txt file back to the server.
Some disadvantages of using robots.txt to hide content are –
- The robots.txt file is publicly accessible, meaning anyone can access it directly to see any hidden pages.
- Most of the search engines follow the instructions in the robots.txt file, but other bots and crawlers may ignore it and index those pages.
- These bots crawl the web to target websites, spread malware, and harvest data like phone numbers and email accounts.
Method 3: Password Protect your WordPress post/page
You can password protect your post/page instead of asking search engines not to index it so that it is only accessible to users having a password.
WordPress comes with an in-built feature to Password protect your posts and pages by default.
For this, edit the page or post you want to protect or hide. In your WordPress editor, click on the edit in front of the ‘Visibility’ option under the’ Publish’ setting.
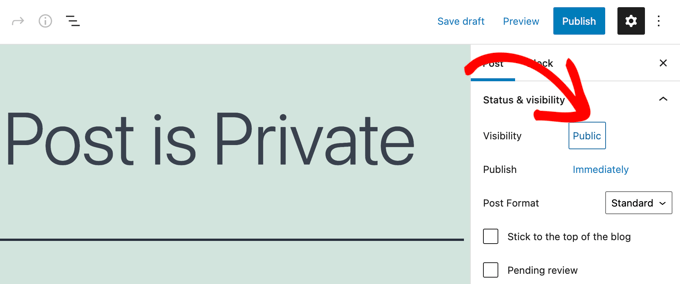
This will bring the visibility options available in WordPress. You can make a page/ post public, Password protected, or private.
Public posts are visible to everyone, and Password protected posts can be seen by any user who has the Password.
Private posts are only visible to logged-in users with an editor user role on your website.
To Password protect your post or page, click on the ‘Password Protected’ option and enter a strong password.
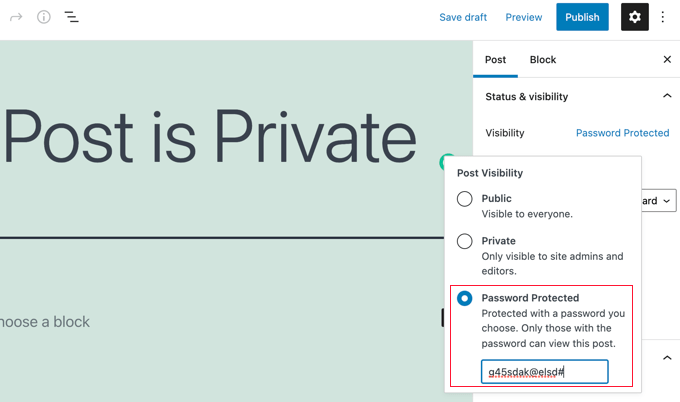
After that, click on Publish or Update to save your changes.
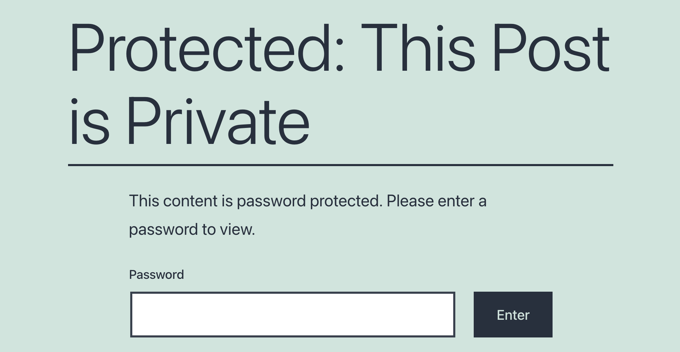
Now the visitors who will try to access it will be asked to enter the password to see the content.
Method 4: Hide your WordPress Site Until It’s Ready
You can hide your WordPress site from Google and the general public when it is under development, you’re redesigning it or doing major updates.
For this, it is best to keep your website in maintenance mode. You can use a plugin like SeedProd.
Now, you have to install and activate the SeedProd plugin. You can see our step by step by tutorial on how to install a WordPress plugin for more details.
Seedprod is available in free and pro versions. But we are using the Pro version for this tutorial as it has more features.
After activation, navigate to the SeedProd » Settings page to enter your license key.
Note: You can find your license key under your account on the SeedProd website.

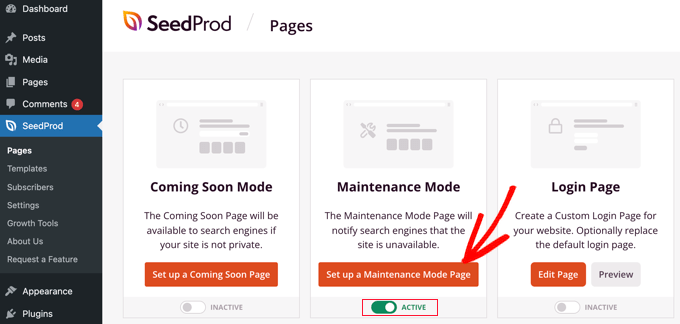
Now, go to SeedProd » Pages and search the ‘Maintenance Mode’ page option. Then you have to switch the toggle from ‘Inactive’ to ‘Active.’
After that, you have to click the ‘Set up a Maintenance Mode Page’ option. This option allows you to create a temporary page that will be visible to your visitors while your website is hidden.
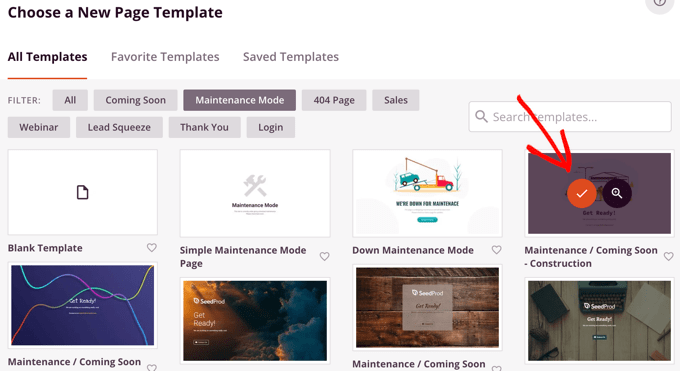
To create a temporary page, you have to choose a template for it.
When you move your mouse over a template, you will see two icons a magnifying glass and a tick mark.
You can preview the template by selecting the magnifying glass icon and then selecting it by clicking the red tick icon.
After that, you will be brought to the SeedProd drag and drop page, which will allow you to customize your maintenance mode page.
For example, you may like to add a timer that counts down the launch time of your website. You can also edit text and background to match your branding.
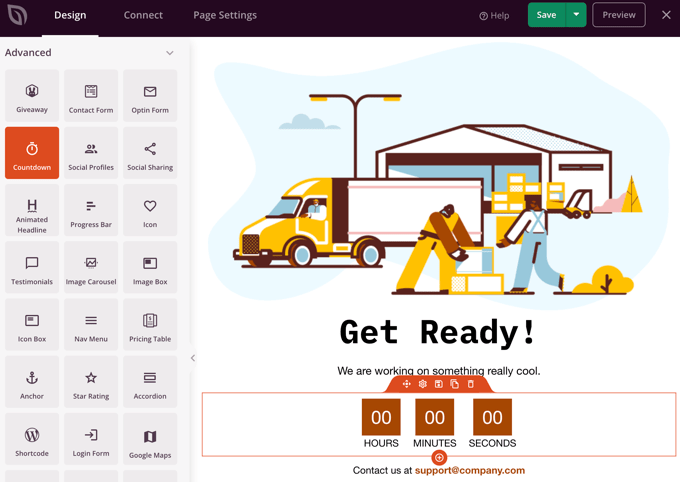
When you’re happy with the page design, you can save your settings or click the drop-down menu next to ‘Save’ and click ‘Publish.’
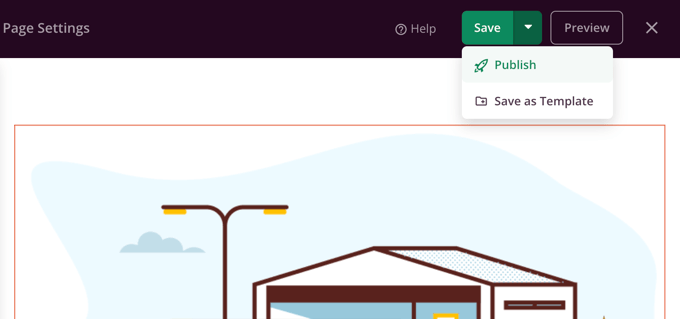
You will get a notification “your page has been published.” Your website is hidden from the public and Google, and only your maintenance page is visible.

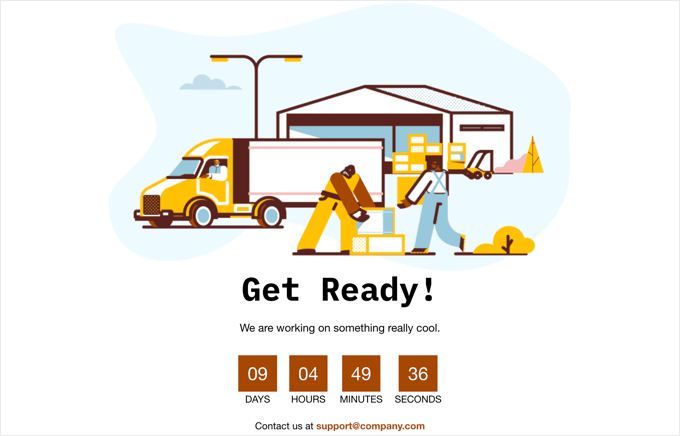
You can also see your maintenance page review. Click the ‘See Live Page’ option to view it. You can see how it looks on our demo site.
When your site is ready, you have to visit SeedProd » Pages again to switch the ‘Active’ Maintenance Mode toggle to ‘Inactive.’
To conclude- There might be many reasons you need to hide your site from google.
Maybe your site is under development or the content is not relevant to your site or else.
We hope you have learned to hide your WordPress page from Google.
If you liked this, You might also want to see our tutorial on how to hide/show categories in WordPress.