How to Move from Ghost to WordPress
Do you need to move your website from Ghost to WordPress?
Ghost is a great website builder that helps you to create websites easily. But, due to its limitations, many users want to shift their website from Ghost to WordPress.
This tutorial will help you to shift from Ghost to WordPress.
Why move your site from Ghost to WordPress
Ghost and WordPress are similar and easily create websites, but Ghost does not provide certain features.
WordPress offers more flexibility than Ghost in many aspects, making it the best website builder on the market.
There are many reasons you want to shift from Ghost to WordPress.
Firstly, WordPress provides more options to optimize your website for search engines and help to increase your web traffic.
It has WordPress SEO plugins to boost up the ranking with more features. Ghost also has an inbuilt SEO setting, but not as much WordPress provides.
Secondly, WordPress is more cost-effective than Ghost. WordPress provides the same features as Ghost at a lower price. Plus, you can add up more features using free plugins in WordPress.
Thirdly, WordPress comes with greater theme selection and hundreds and thousands of plugins to select.
Here, when we say WordPress, we are talking about self-hosted WordPress.org and not about WordPress.com, which is a hosting service.
Many users who start with Ghost face the platform’s limitations and want to move to WordPress.
Step 1. Getting Started with WordPress
Firstly, you will need a domain name and website hosting to start a WordPress website.
The domain name is your website name, and it is what users will type in their browsers to visit your site; for example – Hostkicker.com and a web hosting account are where your website files are stored.
Note: You might already have a domain name that you have used for your Ghost website. If you want to keep the same domain name for your WordPress website, we will help you do that later in this article.
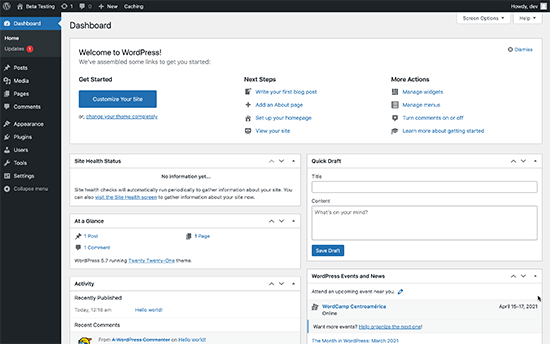
Then you have to install WordPress on your computer.
After installing WordPress on your computer, the WordPress admin dashboard will look like this:
Step 2. Transport your Content from Ghost
You can easily export your content from a ghost account.
For this, log in to your ghost account dashboard and click the Settings icon located at the bottom.
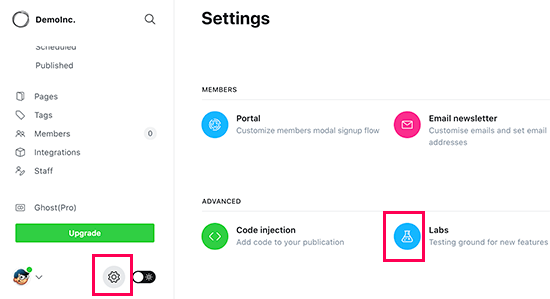
Now, click on the Labs option. This will bring up the ‘Migration’ options. Select the Export option next to the ‘Export your content’ section.
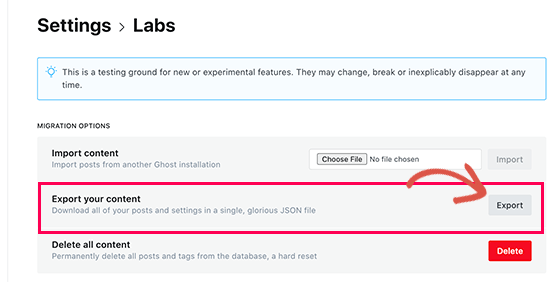
After that, your browser will download an export file in JSON format. WordPress importer tools do not support the JSON format. That’s why you have to convert it to WordPress XML format.
Step 3. Converting JSON format to XML Format
Ghost and WordPress both use different working formats. The default Ghost export file is JSON format, and WordPress works in XML format.
To convert JSON to XML, we are using the Ghost to WordPress Importer tool. The tool is free to use and lets you convert your files to WordPress format.
Firstly, you have to visit the Ghost to WordPress migration tool website. Then, fill in your details, website URL, and email and attach the ghost export file you downloaded earlier.
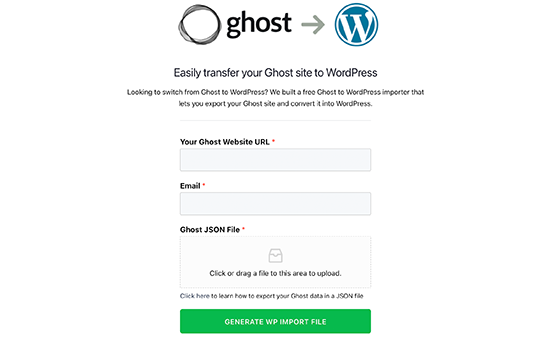
Now, click the Generate WP Import File option to move ahead.
The tool will now convert your Ghost JSON file into WordPress XML format. When it’s done, you can download the XML file to your computer.
Now you can start importing your content to the WordPress website.
Step 4. Import Content to your WordPress site
To import content, Go to the Tools » Import page from your WordPress admin area and then click the “Install Now” link below the WordPress.

Now, WordPress will install the importer plugin. When finished, the install link will change to ‘Run Importer.’ Then, click the Run Importer link.
After this, you have to click the Upload file option to select the WordPress XML file you downloaded.
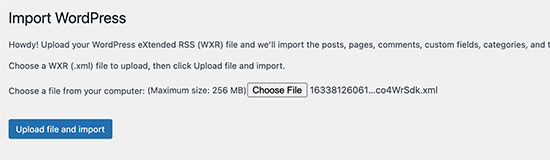
Then, click the Upload file and import option to continue.
Now WordPress will upload the import file, and you have to assign authors.
You can create a new author, import an author from your Ghost website, or assign all content to an existing WordPress user.
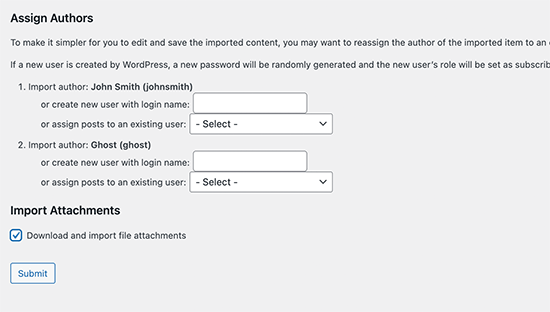
After that, check the box next to ‘Download and import file attachments’ to fetch images from your Ghost website and import them into your WordPress media library for later use.
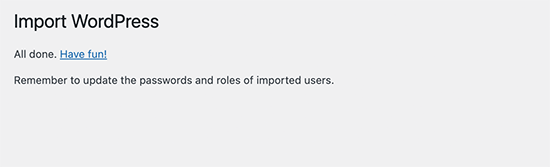
When importing file is finished, you will get a success message.
In rare cases, If the importer timed out or some posts are missing. You can run the importer again. It will only import items that it missed and automatically avoid duplicate imports.
If you have much content, the importer may fail to import images inside pages and posts to your WordPress media library.
Move on to our next step to fix this easily and import images from Ghost to the WordPress site.
Step 5. Import Images from Ghost to your WordPress site
The WordPress importer itself tries to import images from your Ghost site to your WordPress media library. But it may skip some images or does not import any pictures at all.
For this, you can use a plugin to import images into the WordPress media library.
First, Install and Activate the Auto Upload Images plugin. You can see our step-by-step tutorial on installing a WordPress plugin for more details.

After activation, you have to edit and update your blog posts, and the plugin will import any external images into those articles to your media library.
Also, You can quickly import images from your Ghost site by bulk updating all your blog posts.
Step 6. Pointing Your Domain to WordPress
After successfully migrating content from Ghost to your WordPress site, you have to point your users to your new WordPress site.
You could not point the previous link to your new WordPress website if you used a Ghost branded sub-domain like yourwebsite.ghost.io.
For that, you have to edit your Ghost website and add up a plain text notification to inform your users to check out your website on the new location.
On the contrary, if you were using a custom domain, such as yourdomain.com, then you can alter its DNS settings and then point it to your new WordPress hosting provider.
To change domain settings, first, log in to your domain registrar account and search for the option to alter the DNS settings.
Now, you have to enter your new WordPress hosting provider’s nameserver information in the DNS settings area. Usually, it looks something like this:
ns1.Hostkicker.com
ns2.Hostkicker.com
After you change the DNS name server, your domain will now start showing your WordPress website instead of your previous Ghost website.
Note: It may come into effect after a couple of days.
Step 7. Set Up Permalinks
The next step in moving your Ghost site to WordPress is to redirect the users from each page of your Ghost site to the correct post or page in your WordPress site.
The Ghost websites use the post or page name as the default permalink structure by default. To match them on your WordPress site, visit Settings » Permalinks and select Post Name as your URL structure.
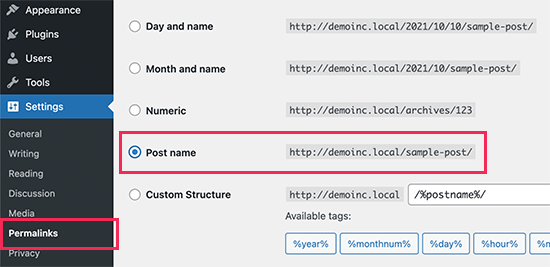
After that, click the ‘Save’ option to store your changes.
Note: If your Ghost website uses a subdomain, you can not set up redirects by changing permalinks.
Now you have successfully transported your ghost site to WordPress.
To Conclude- After knowing the limitations of Ghost, many users want to switch from Ghost to WordPress, the best website builder in the market. We hope this write-up helped you learn how to move your site from Ghost to WordPress.