
The Basic Guide to Track User History in WordPress
Do you have multiple users using the same website? You might want to track user history in WordPress. As a website owner, you must know what other users are doing on your site. However, you can’t track these changes by default.
If you are interested in tracking your users’ history, you have landed right. This blog is going to discuss the simplest way to track user history in WordPress.
So, without further ado, let’s begin!
Why should you track user history in WordPress?
There may be many reasons for tracking user history in WP. Firstly, as a website owner, being at the top of the loop is important. Secondly, to ensure everything is on the right track, you must track all the important events occurring on your site. Thirdly, you must know what user is performing what task. This is extremely important if multiple users handle different tasks on your website. In case something goes wrong on your site, you can track the history to examine what may have happened and where things have gone wrong.
Thus, tracking user history can save your website from major issues that can impact your website’s presence in search results.
How to track user history in WordPress?
To track user history in WordPress, the simplest way is to use a plugin that tracks user history.
There are multiple plugins out there, but we are using the easiest and most user-friendly plugin- Simple History.

Using this plugin, you can easily see all the recent changes made by different users on your site as well as track the user history in different aspects. The plugin comes with various features, including-
- The ability to determine who added, modified, or removed a post or page.
- See who added, changed, or removed attachments.
- See who added, changed, or removed taxonomies.
- Keep track of who modified which comments.
- Learn about new, updated, and removed widgets.
- View the information on activated and deactivated plugins.
- Keep track of changes to user profiles.
- Keep track of all user logins.
- See all data import and export, as well as menu changes.
Overall, the plugin is lightweight and easy to set up and use.
How to get started with the ‘Simple History’ plugin?
In this section, we’ll discuss the whole process of employing the Simple History plugin from installation to utilization.
1. Install and Activate Simple History.
In order to get started with Simple History, you need to install and activate the plugin first. You can simply do that by navigating to your admin dashboard.
If you are new to WP installation, you can check our easy step-wise guide on installing the WP plugin.
Once you install the plugin, activate it and move to the next step.
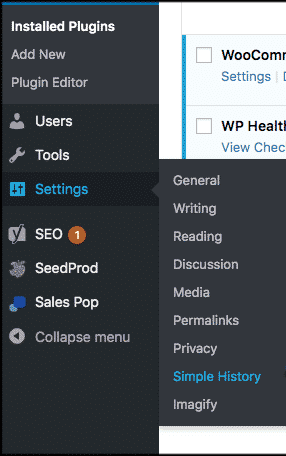
Navigate to your WP dashboard and navigate to Settings>>Simple History. On the next screen, you’ll witness the plugin settings that you need to configure.
2. Configure plugin settings.
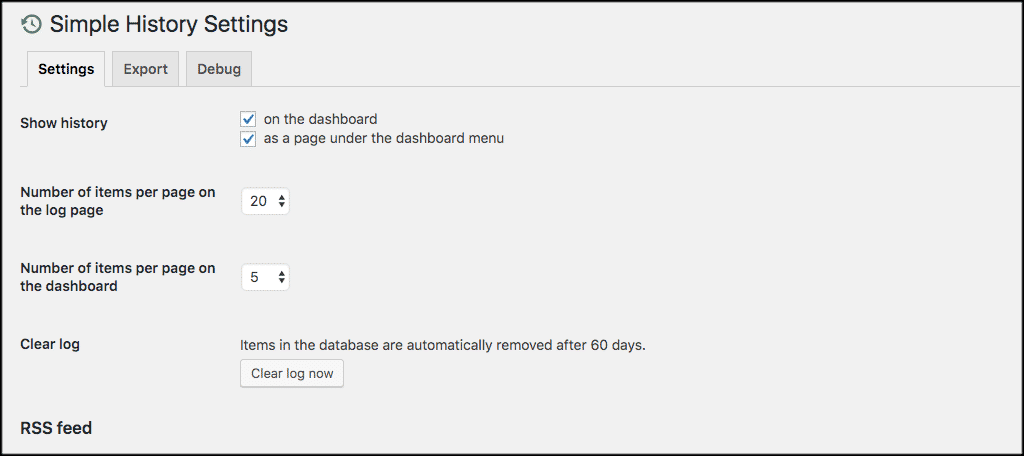
Now, on the next screen, you’ll witness three primary tabs, including Settings, Export, and Debug. Let’s look at what each tab represents and what it’s used for.
i. Settings: Under the “Settings” tab, you need to configure the simple settings in order to track user history in WP. Configure the settings the way you like, and then click on the ‘save changes’ tab to store your changes.
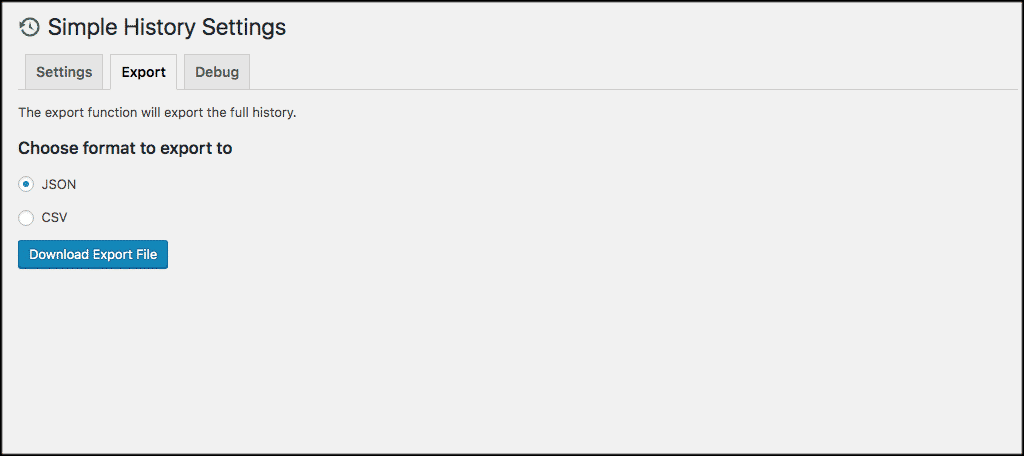
ii. Export: The next tab you would see is “Export.” This tab allows you to export WordPress user history in JSON or CSV format.
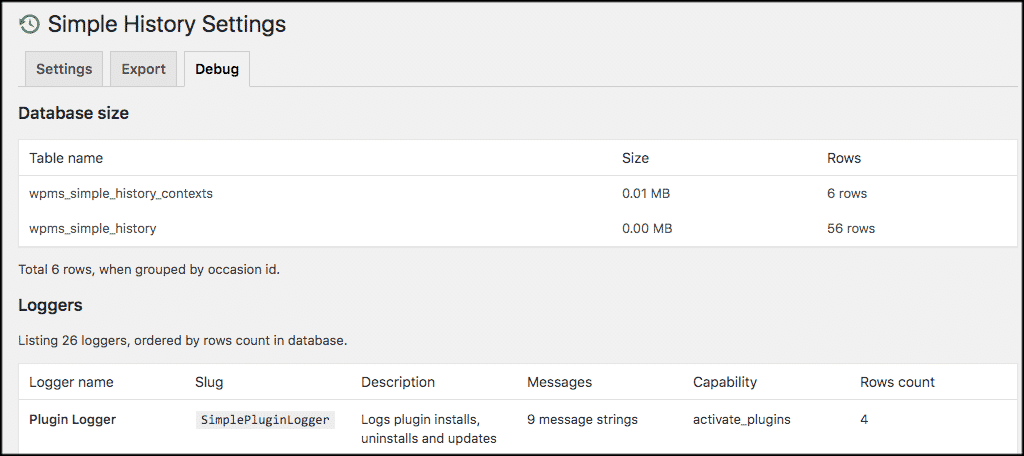
iii. Debug: The “Debug” tab displays everything going on with the plugin and provides ideas for debugging any problems that may develop. This setting can be really useful while troubleshooting the plugin.
3. How to View User History in WordPress
The plugin is easy to understand and quite simple to use. Based on your settings, it allows you to view user history in two different ways:
First on the WP dashboard and second as a separate page under the dashboard menu.
Let us show you how you can witness user history from the WP dashboard.
Simply navigate to the admin dashboard and then to “Simple History.”
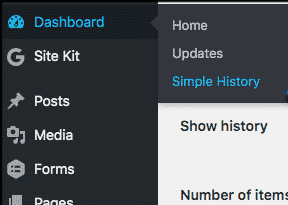
On the next screen, you’ll witness various search options.
All current changes in WordPress will be presented underneath the search choices, so you can witness all the recent changes here effortlessly.
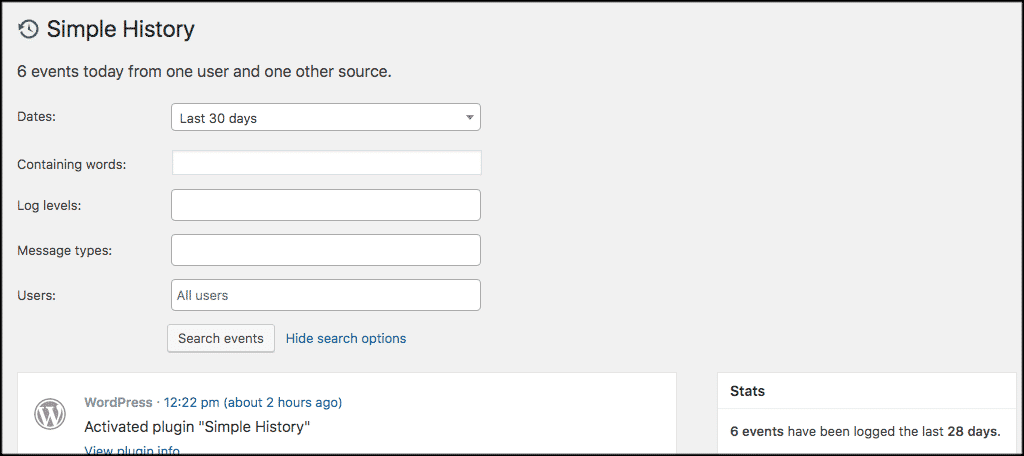
Alternatively, you can use the search fields to narrow specific functions to specified dates, phrases, users, and log levels.
Moreover, if you scroll down, you will find a list of all WordPress modifications that have occurred, either through the default search settings or by the search parameters you entered.
![]()
That’s all. This way, you can easily track user history in WordPress.
To Conclude:
Tracking what happens on your website is a great move to ensure everything operates smoothly, detect issues timely and prevent major website problems. Having multiple users on a website increases the likelihood of potential issues that can significantly hurt your website’s presence on the internet. That’s why it’s important to track user history in WordPress. Thanks to plugins that have made practically everything easier for WordPress users. ‘Simply History’ can be a valuable addition to your website in this regard. It is a straightforward plugin that lets you monitor everything precisely and trace what each user is doing on your site.
Here we’ve gone over the simple and stepwise method to trace user history. We hope this easy guide has helped you understand it better and made user tracking in WordPress easier for you.
Get started with ‘Simple History’ and stay on the top of the loop of your website.