
How to backup WordPress site using Jetpack
Being a website owner, we understand the importance of website data, and we know how it feels to lose it. For a web admin, a website’s data is like an investment that pays back in the long run. This is why every web admin must back up their site’s data and secure it in a separate place. Are you also looking for a smart backup solution for your website? Consider opting for Jetpack Backup; It could be the ideal choice. Jetpack helps you back up your WordPress site automatically, in real-time, and store it in the cloud to prevent any data loss. No matter how big or small your website is, Jetpack Backup can help you back up your site quickly without needing any prior experience. Read the guide till the end to discover how to backup WordPress sites using Jetpack Backup, step-by-step and effortlessly.
So, without further ado, let’s get started!
Why Should You Use the Jetpack Backup?
You might be wondering, there are plenty of backup plugins in the market, and we choose Jetpack back. Jetpack Backup, formerly known as VaultPress, is a powerful plugin that automatically backs up your site’s data and provides you with instant recovery.
Every website on the web is exposed to security threats. This is because, with technology advancements, hackers have also become more skilled, increasing the likelihood of everyday cyber-attacks.
So, when it comes to keeping your WordPress secure, a strong backup system can be the best place to start.
With Jetpack’s automatic real-time backup and one-click recovery, you can restore your data from anywhere in case of any data loss or attack. Jetpack backup is a reliable solution as it stores real-time changes. So, you can leave your data concern with Jetpack and relax.
So, let’s move ahead and help you discover how to back up your WordPress site using the Jetpack backup plugin.
How to backup WordPress site using Jetpack
In order to use the Jetpack plugin on your site, first, you need to select the right plugin. There are two plugins with the name Jetpack, the Jetpack VaultPress Backup and the Jetpack. Beginners might get confused between the two.
If you wish to use the plugin only for backups, you can go for the Jetpack VaultPress Backup, and if you desire to use a complete suite of tools, including WP Security, Backup, Speed, & and Growth, you can proceed with the Jetpack.
-
Install the Plugin
Now, let’s get ahead with the Jetpack VaultPress Backup. Firstly, install and activate it on your site. If you don’t know how to install a plugin, you can check our beginner guide on plugin installation.
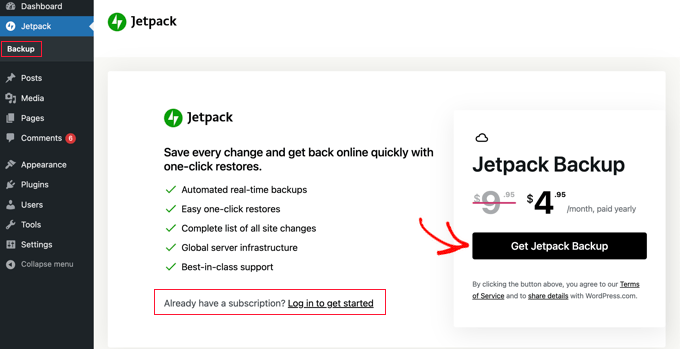
Once done, on the next screen, you’ll see two options:
- Log in to get started: You can proceed with this if you already have a subscription
- Get Jetpack Backup: You need to purchase the plan.
So, move ahead and complete the purchasing process. Once done, your WordPress website will be linked with your Jetpack account.
After this, the plugin will back up your website automatically. The process might take a few minutes to hours, depending on the amount of your website data.
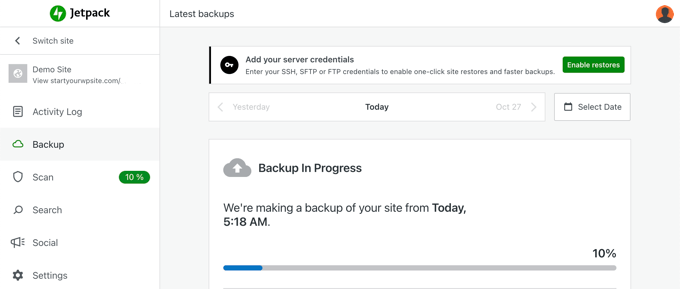
Once the backup is completed, the Jetpack will display the completion on its website, along with the finish time.
-
How to use the plugin
The plugin also lets you browse between your backups if you have multiple backups. You can see them using the ‘Select date’ option.
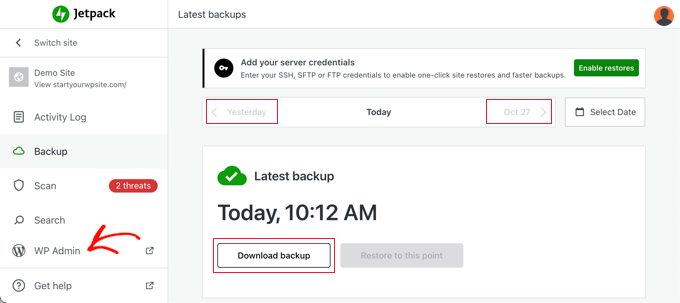
In addition, it also allows you to download your site’s backup to your system, which you can use to keep your data safe, restore your website, or transfer it to another website.
Then, you can easily switch to your website’s admin area. For this, click on the ‘WP Admin tab’ from the jetpack sidebar.
Also, if you want to manage your backups, you can return to your Jetpack account by simply clicking Jetpack>> Backup. Once there, you can click on the ‘See backups in the cloud.’

You can alternatively navigate to Jetpack>> My Jetpack and then click on the ‘manage’ tab under the backup.
-
Allow Jetpack Backup to Access your server.
Now, to work more efficiently and to restore your backups, Jetpack backup needs access to your server. For this, you need to visit the Jetpack website using any of the two methods discussed above.
Jetpack >> Backup>> See Backups in the Cloud
Jetpack >> Backup >>Manage
Now, you will be taken to your Jetpack dashboard.
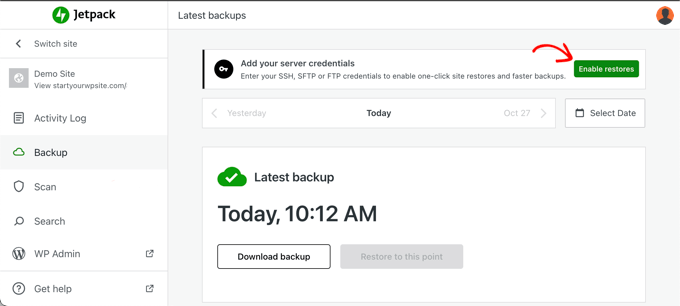
Once there, click on the ’Enable Restores’ option at the top.
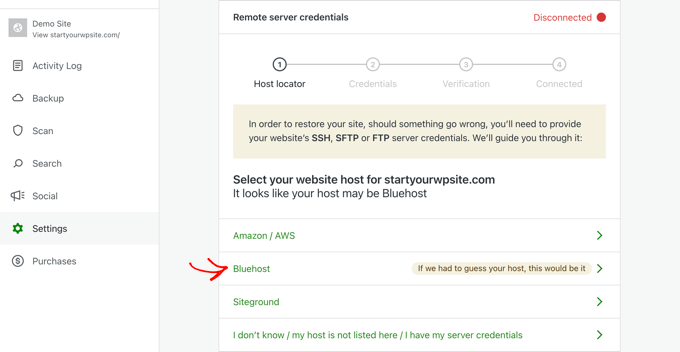
On the next page, you’ll witness the list of most popular hosting providers. Now, look for your hosting provider. If you don’t see your hosting provider, simply click on the ‘I don’t know option.’
Then, you need to enter your FTP, SFTP, or SSH credentials.
These are the server credentials that you have received when you signed up for your web hosting. You can also get your FTP details from your hosting cPanel.
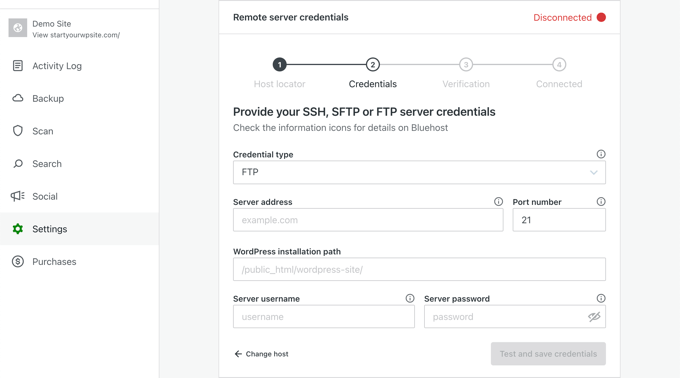
From the ‘Credential type’ dropdown option, you can also select the SSH option. With this, the Jetpack will require you to add your SSH keys.
Otherwise, you can simply connect to your hosting server using SFTP or FTP.
Lastly, ensure to click on the ‘Test and save Credentials’ option. That’s it. You have successfully connected your Jetpack with your server.
How to restore your WordPress site using Jetpack
Now that you have learned How to back up a WordPress site using Jetpack, it is time to learn how you can restore your WordPress site using Jetpack in case of any data loss or cyber-attack.
With Jetpack, you can easily restore your WordPress site for a backup. First, navigate to your cloud backups. You can use any of the methods below:
Jetpack >> Backup>> See Backups in the Cloud
Jetpack >> Backup >>Manage
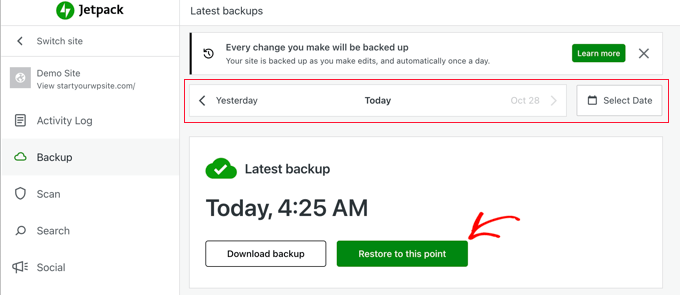
Once there, you can select the backup you want to restore from the ‘select date.’ Once you discover the backup to restore, you can click on the ‘Restore to this point’ option.
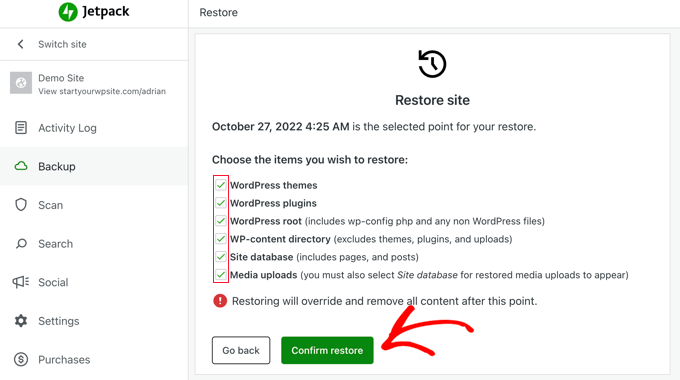
The plugin also provides you the option to select the items you can restore. You can either choose to restore the entire website or select some preferred items.
Once you’ve decided, you can click on the ‘Confirm Restore’ tab. This will successfully restore your website.
Jetpack will also display the progress on the screen.
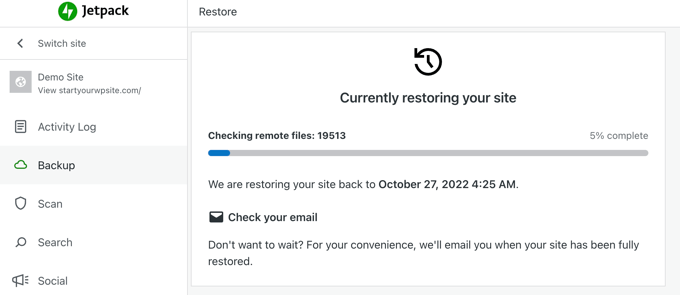
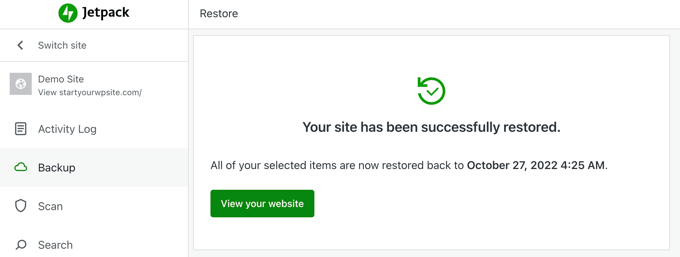
The website restoration process will take some time, depending on the size of your website. Once the restore is complete, Jetpack will email you when the restore has finished. Also, you will see a success message once it is finished.
You can click the ‘view your site’ option to ensure your website is working as expected.
Final Thoughts!
So that’s it. You have successfully learned how to back up a WordPress site using Jetpack plugin, as well as how you can restore your WordPress site using Jetpack. We hope this guide has assisted you in backing up your website and enabled you to store your data securely. If you liked this, you may also check our guide on WordPress security.